DIY ‘Party Cart’ step-by-step
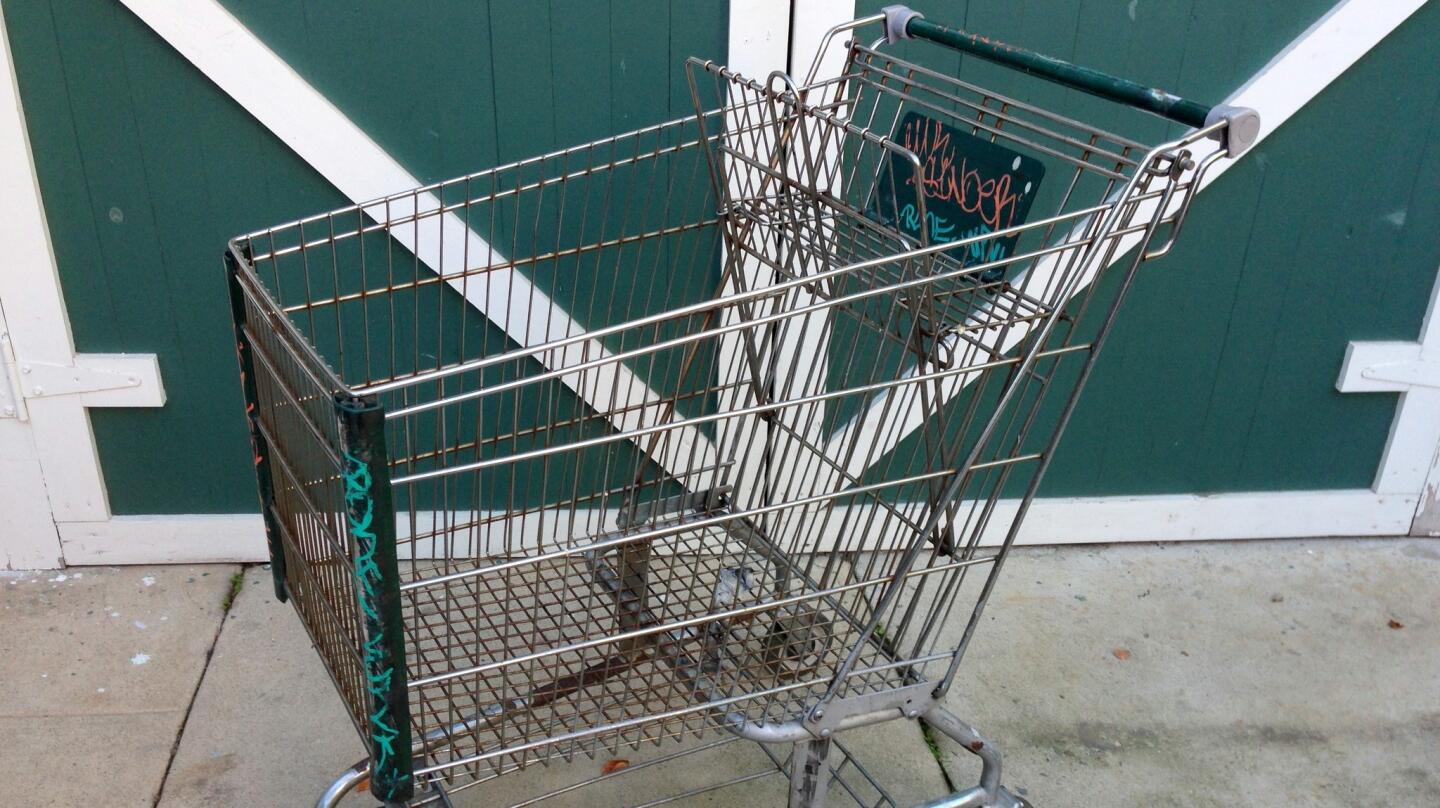
The original grocery cart. Friends of mine found it abandoned, tagged and rusted through. (Noelle Carter / Los Angeles Times)
For my Super Bowl party this year, I decided to build my own bacon-wrapped hot dog cart, starting with an abandoned grocery cart. In the process, I added a draught beer tap and a few other embellishments. My new favorite toy, I’ve christened it the “party cart.”
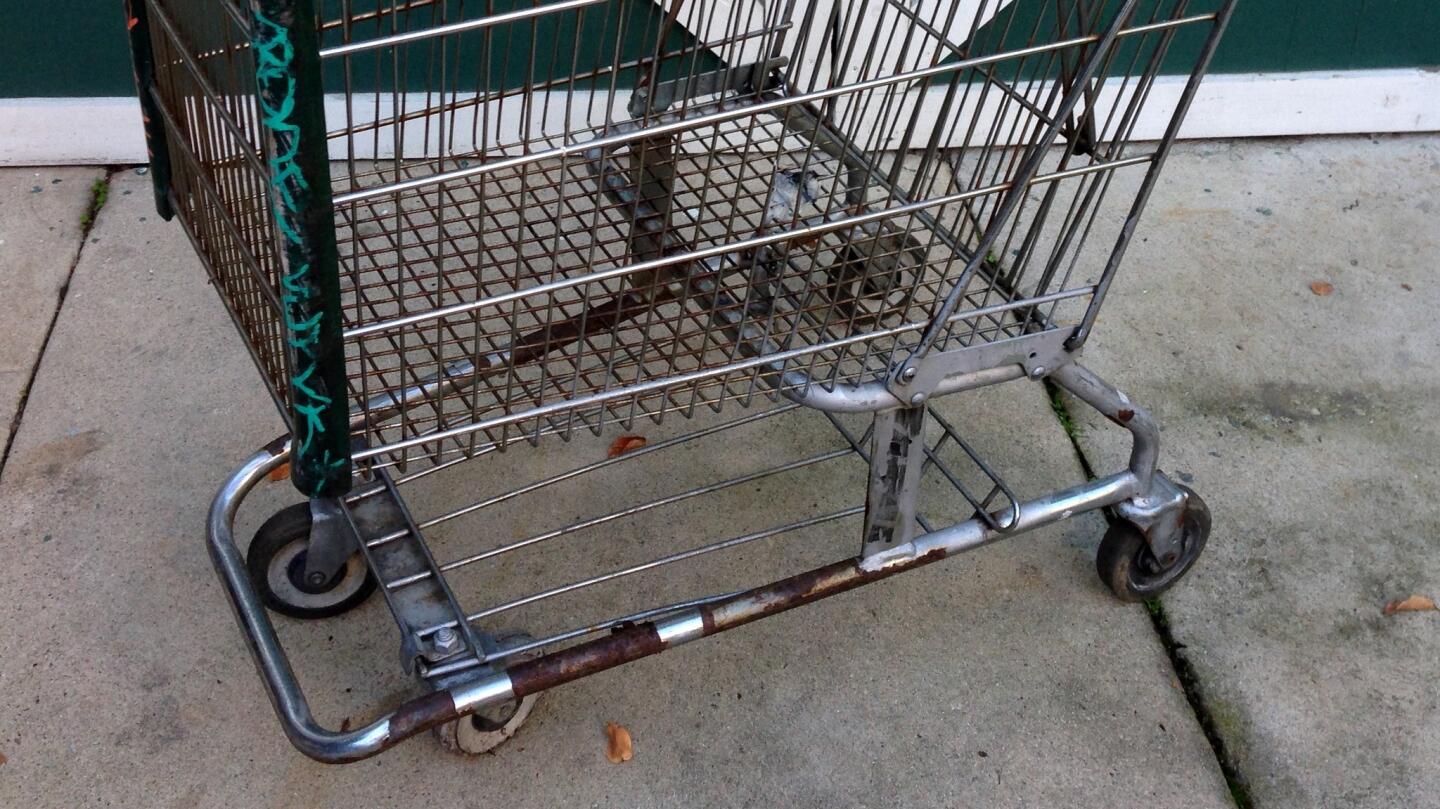
The original cart. The chrome was peeling away in places, and the basket, seat and handlebar had been burned. The front left wheel is worn down. (Noelle Carter / Los Angeles Times)
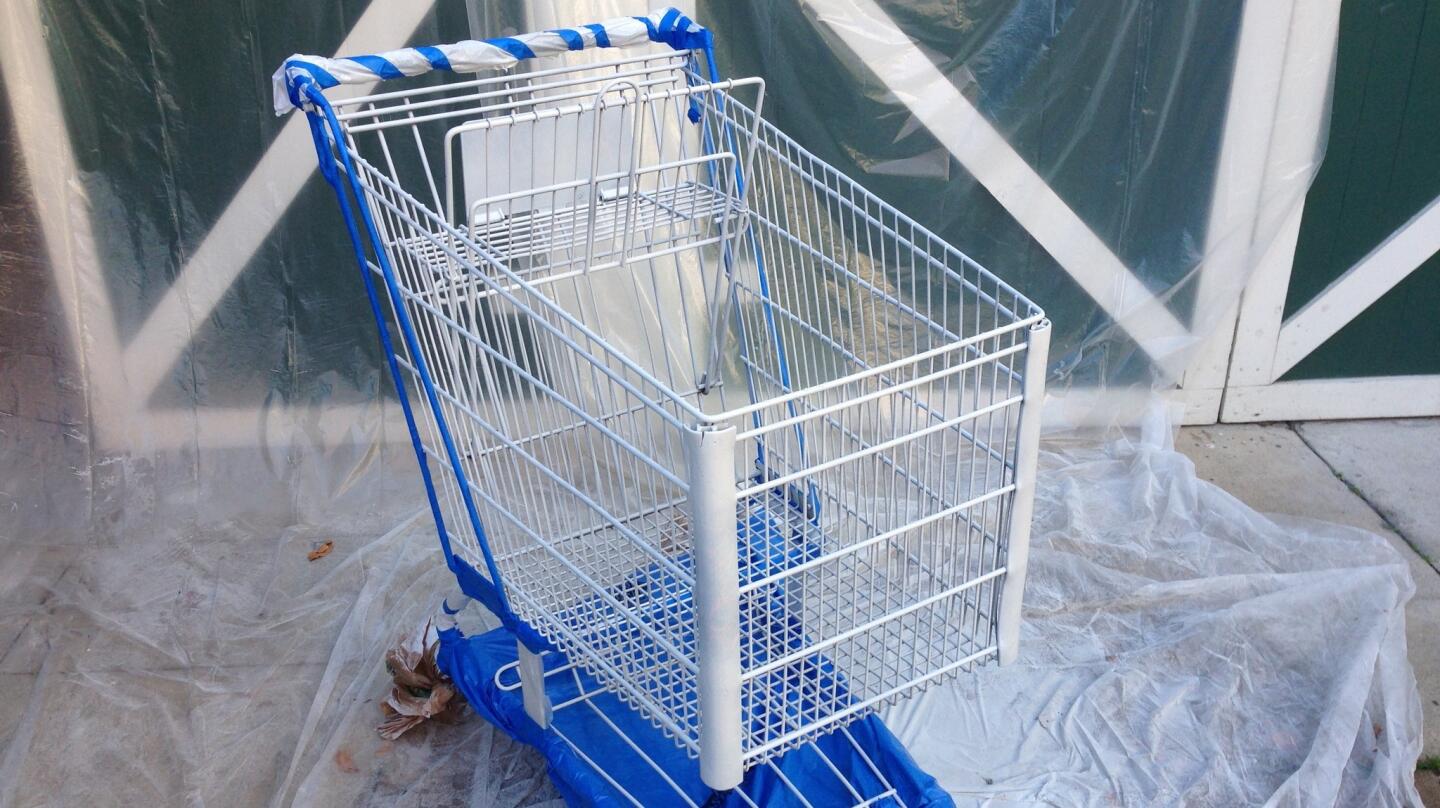
After scraping off loose rust and chrome, I sprayed the cart with two coats of rust-resistant primer. Here, the cart is primed and taped off for painting. (Noelle Carter / Los Angeles Times)
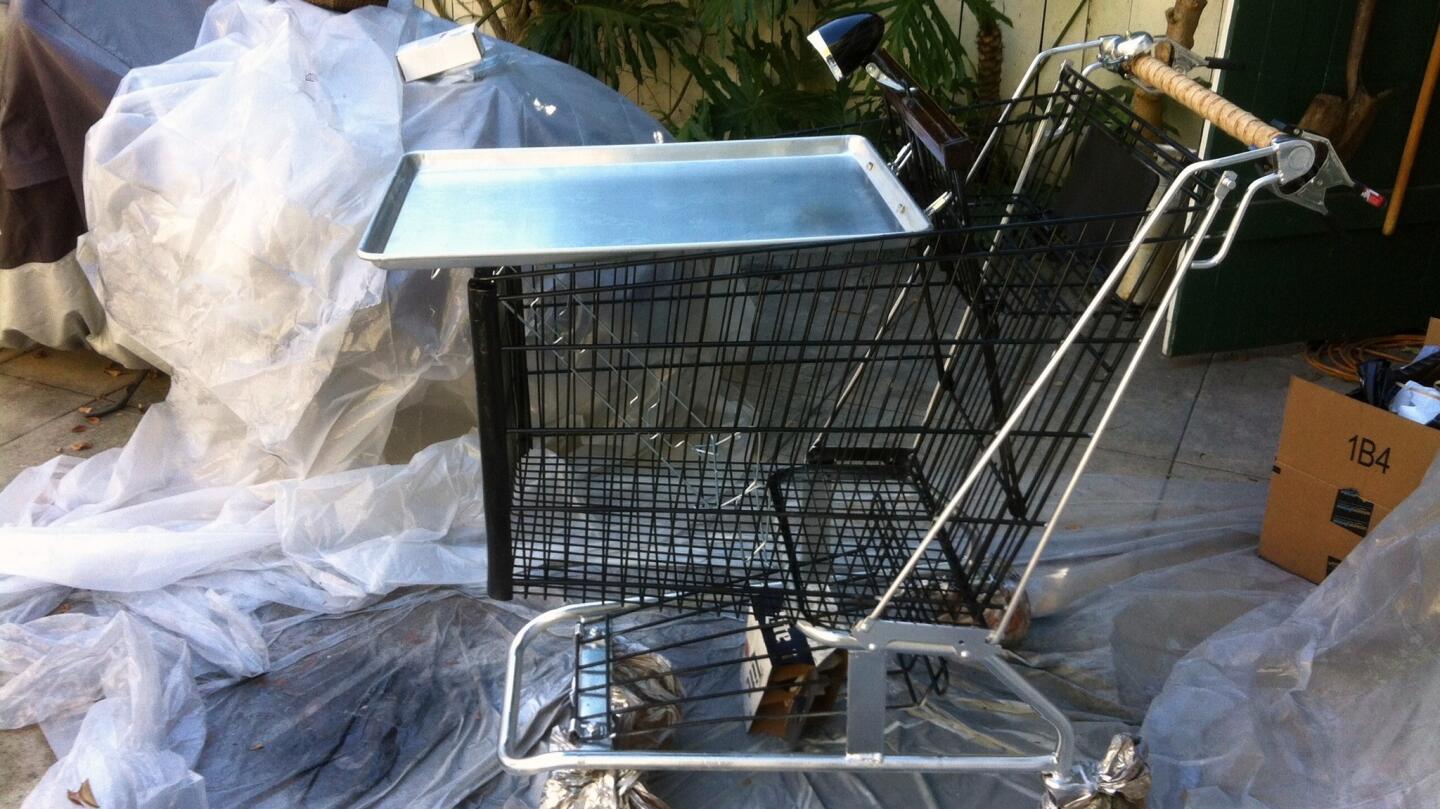
I sprayed the cart with high-heat grill paint and chrome accents. With the paint dry, I began fitting the cart with the griddle. (Noelle Carter / Los Angeles Times)
Advertisement
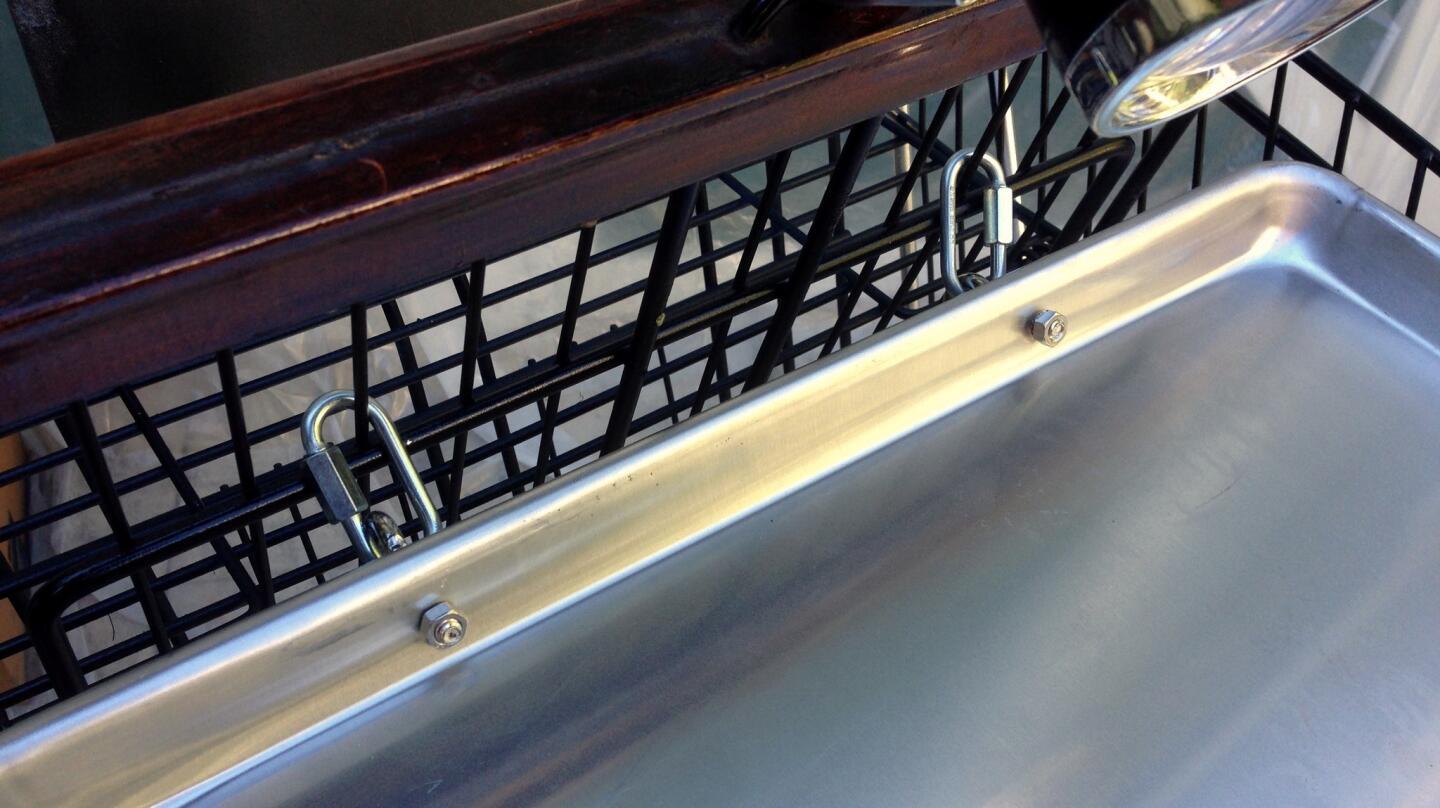
For this size cart, a full size (18-by-26-inch) rimmed sheet pan fit perfectly. To hold the pan in place I drilled one end with holes to fit eye screws that I attached to the cart seat. (Noelle Carter / Los Angeles Times)
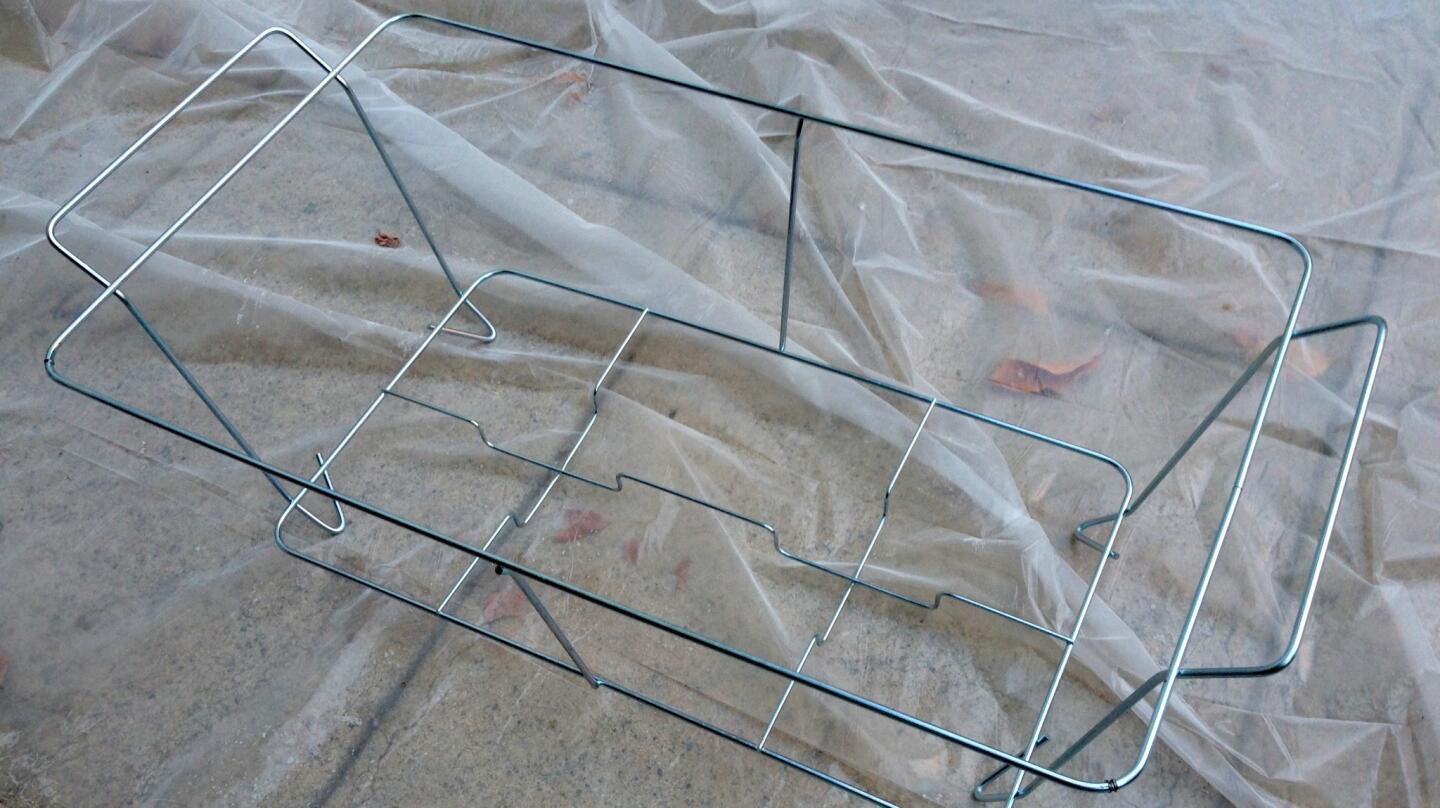
For the cooking element, I decided to use chafing fuel. To hold the canisters in place, I took a disposable chafing frame and molded it to fit under the sheet pan. (Noelle Carter / Los Angeles Times)
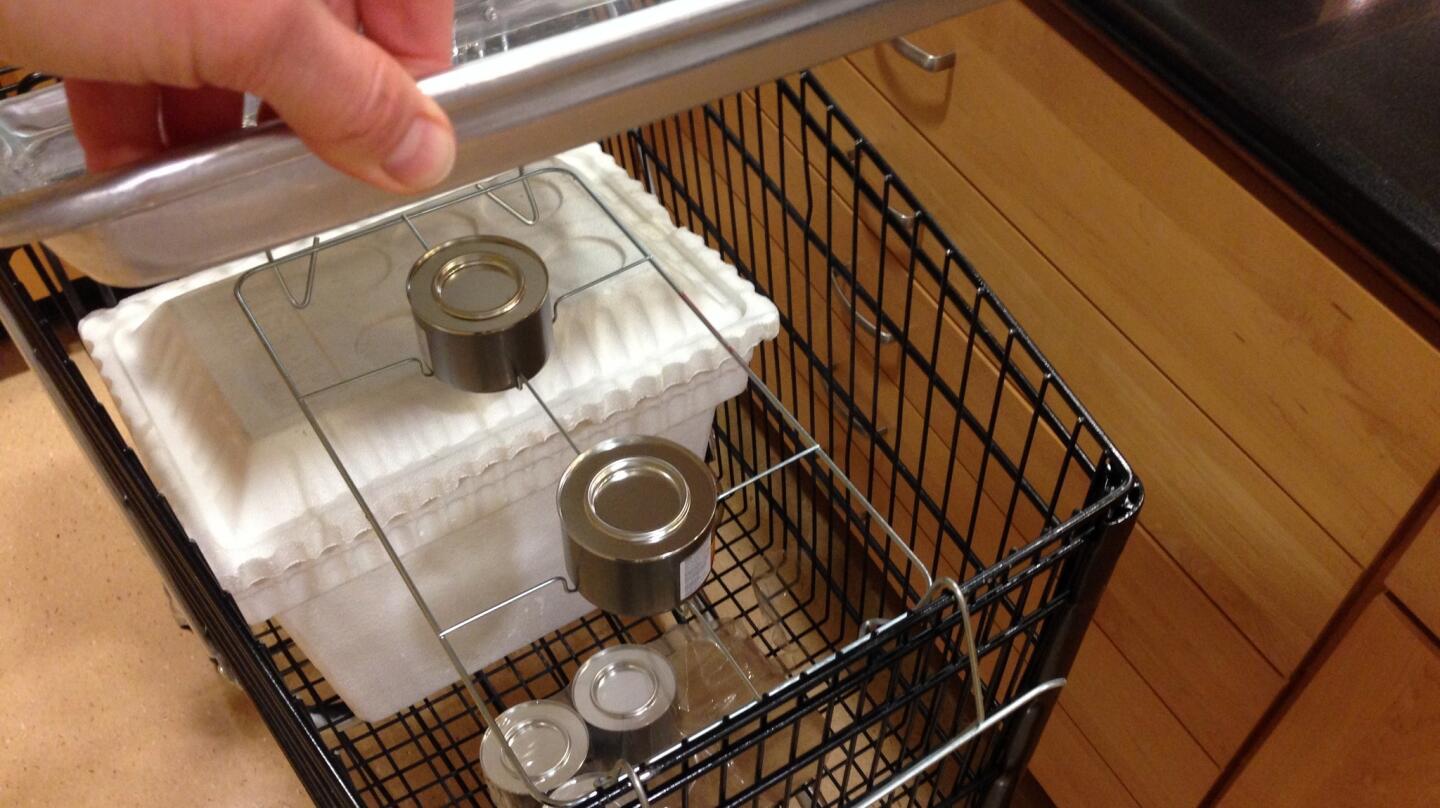
The chafing frame bent and fitted, and also attached to the cart. The two chafing fuel canisters are centered under the sheet pan. (Noelle Carter / Los Angeles Times)
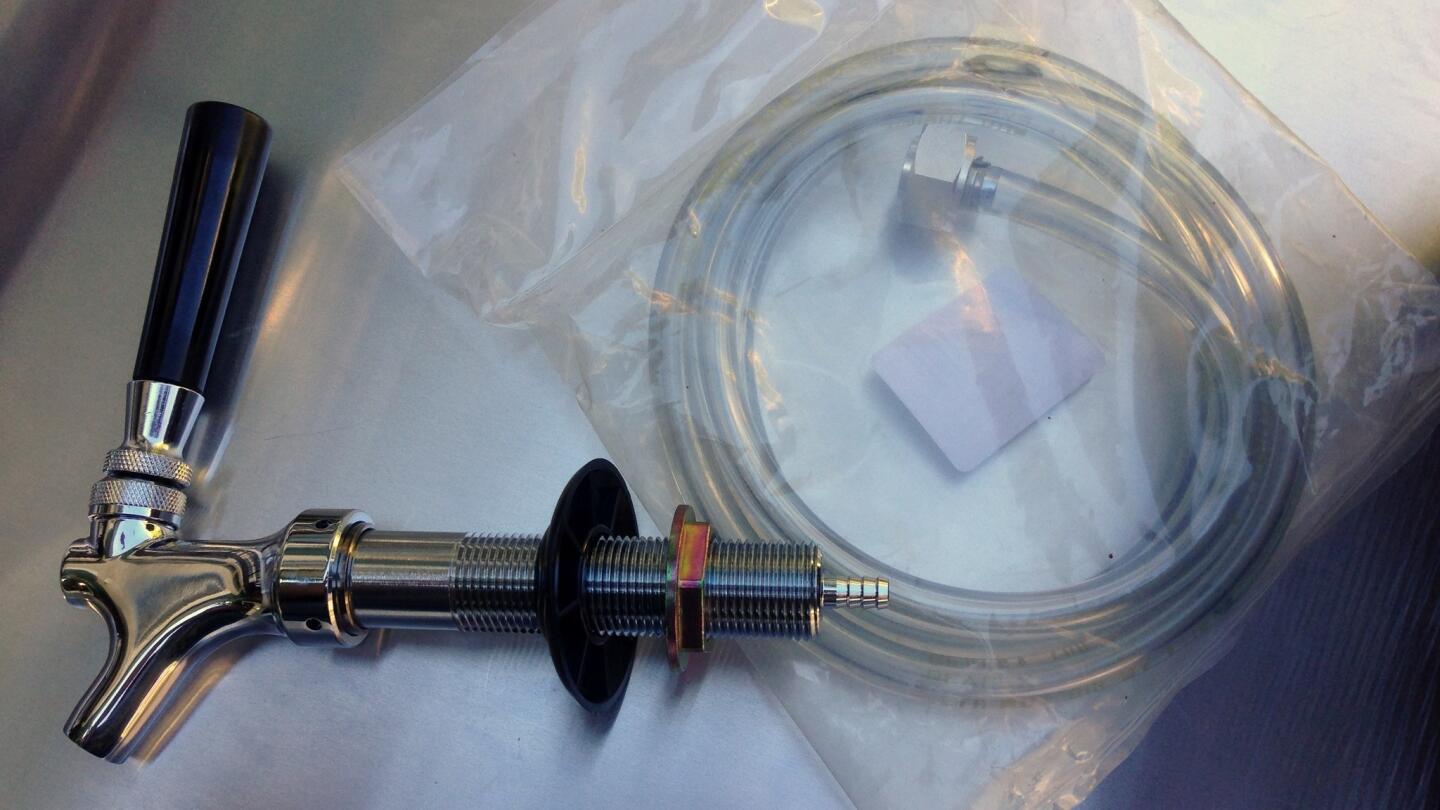
For the draft beer, I ordered a standard beer faucet and beer line. (Noelle Carter / Los Angeles Times)
Advertisement
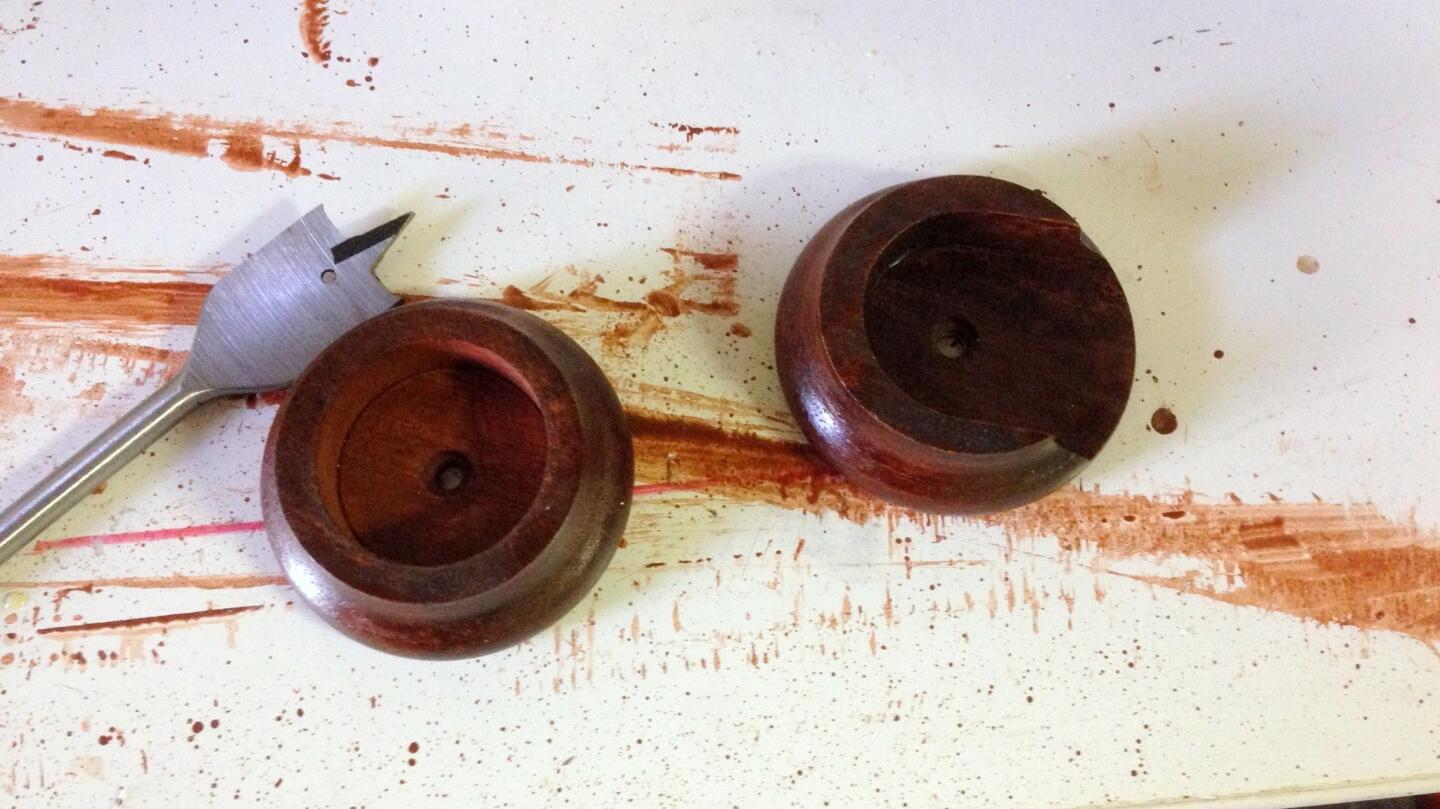
To attach the faucet to the cart, I took two curtain rod end holders and drilled 1-inch holes in each one. I then could slide the faucet shank through the holes and tighten the faucet to the side of the cart. (Noelle Carter / Los Angeles Times)
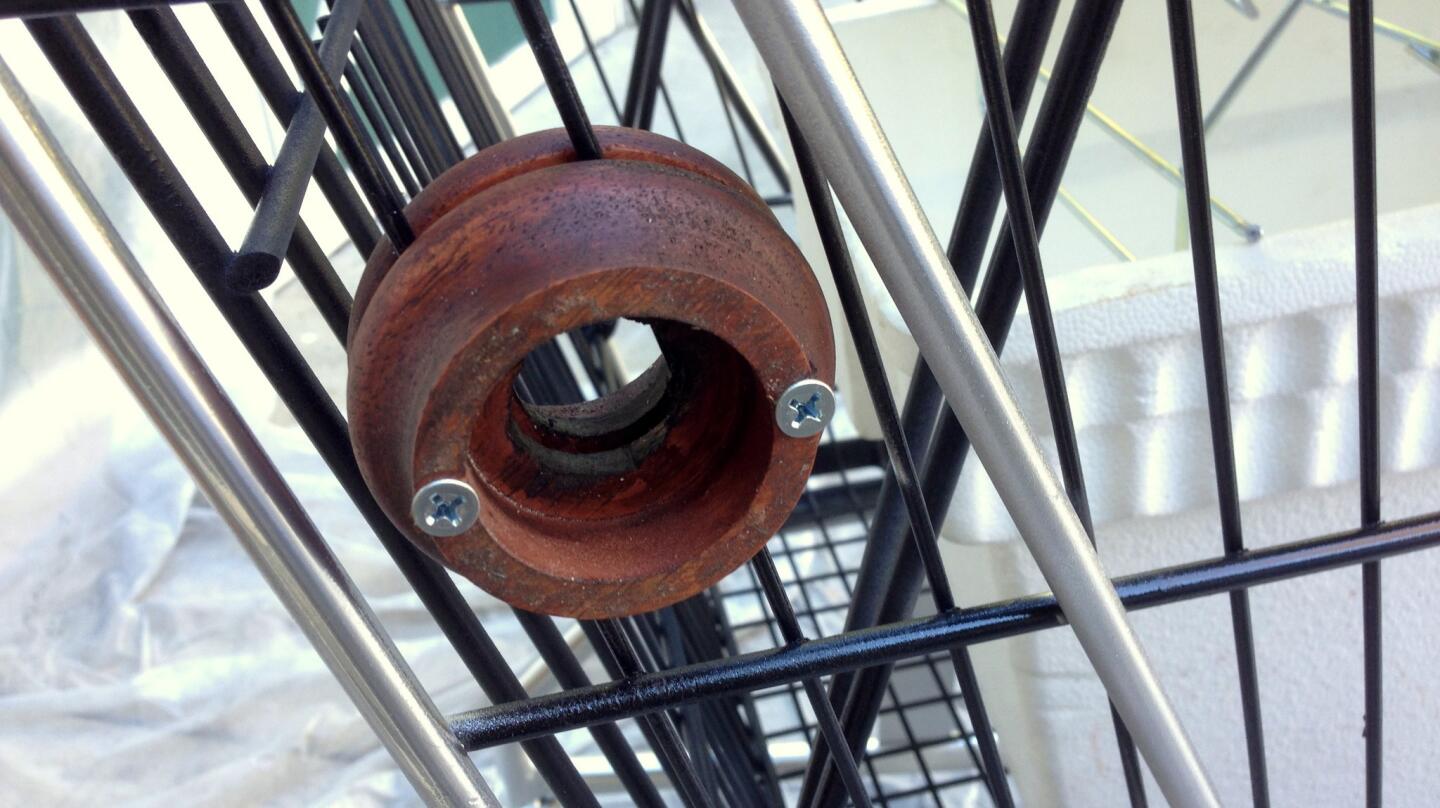
Attach the curtain rod holders to the side of the cart using two screws. (Noelle Carter / Los Angeles Times)
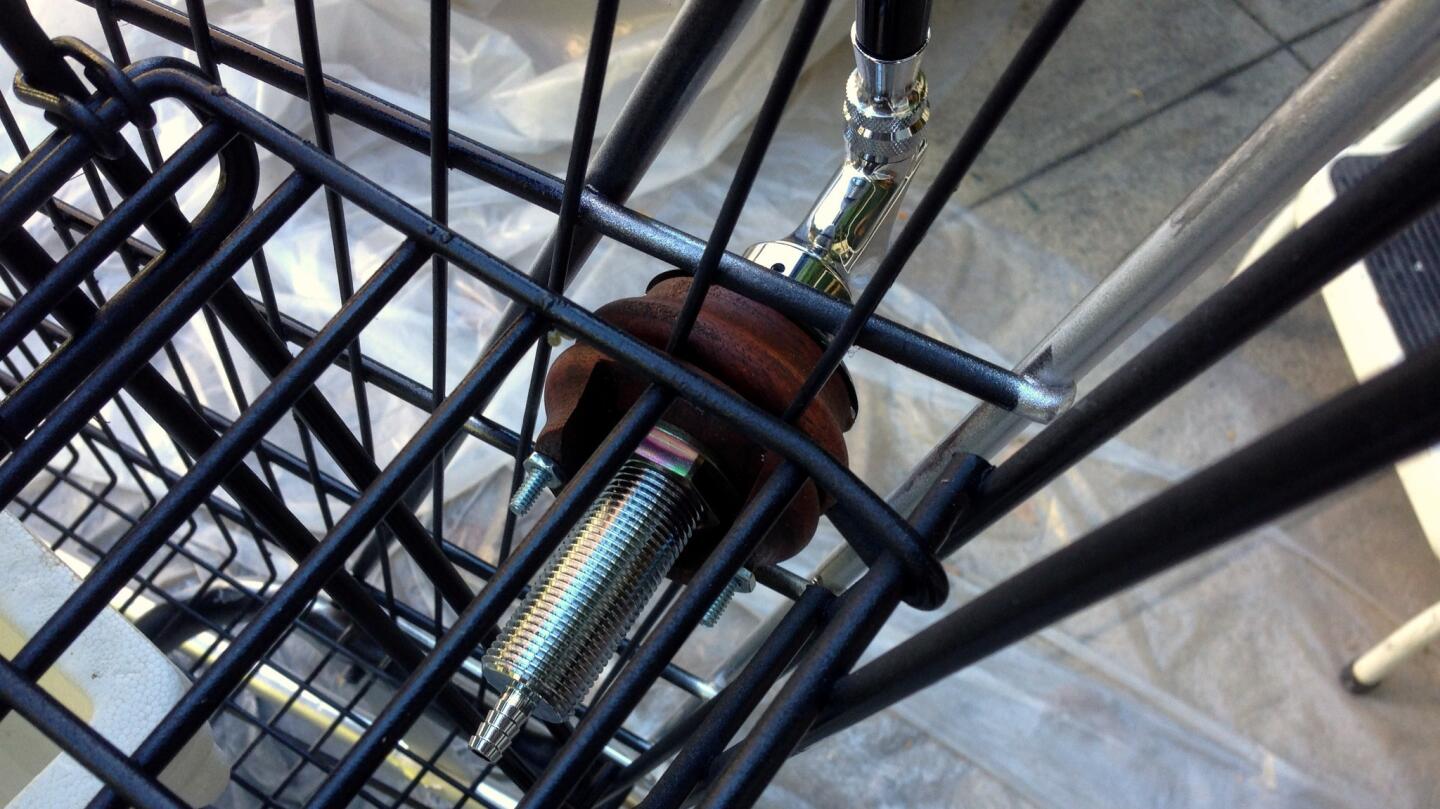
Test to make sure the faucet slides through for a snug fit. (Noelle Carter / Los Angeles Times)
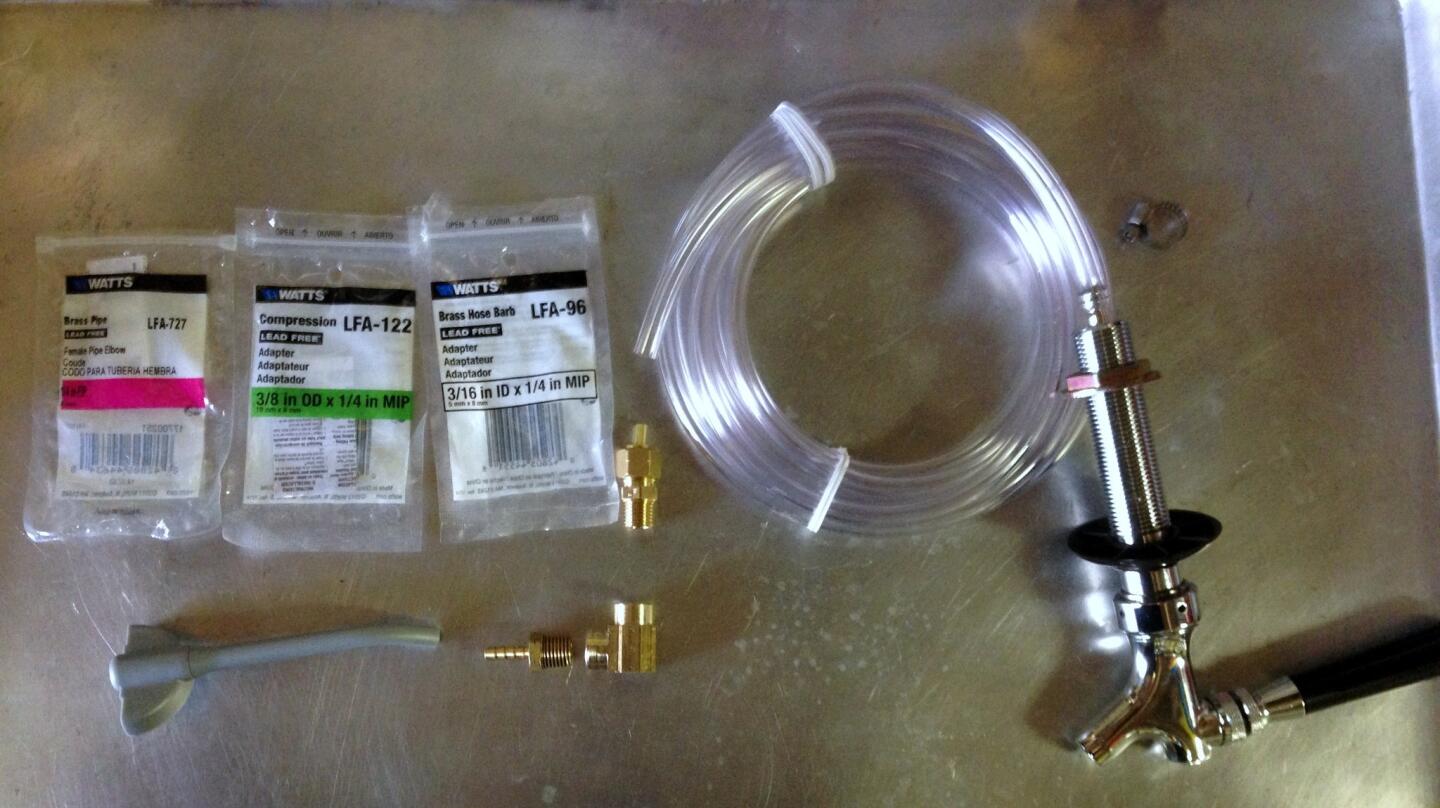
Almost all kegs need to be pressurized externally using a hand pump or CO2 cartridges. Until I can figure out another fix, I’m working with the pressurized mini kegs from Heineken. (Noelle Carter / Los Angeles Times)
Advertisement
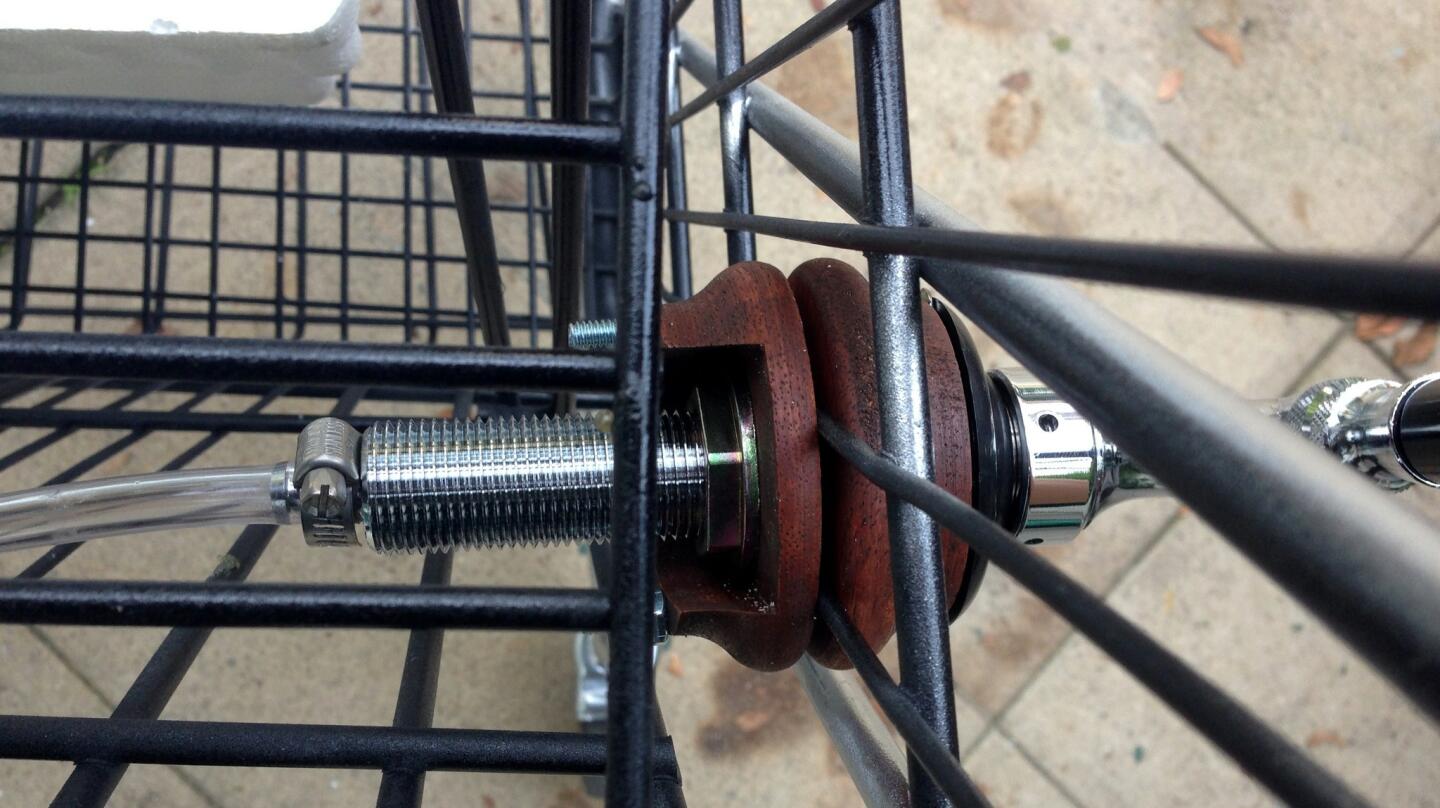
I was inspired by two great workarounds I found online. One shows how to adapt the mini-kegs to work with a beer faucet in your fridge: http://www.instructables.com/id/Tap-a-Draught-Keg-Inside-Your-Fridge/ (Noelle Carter / Los Angeles Times)
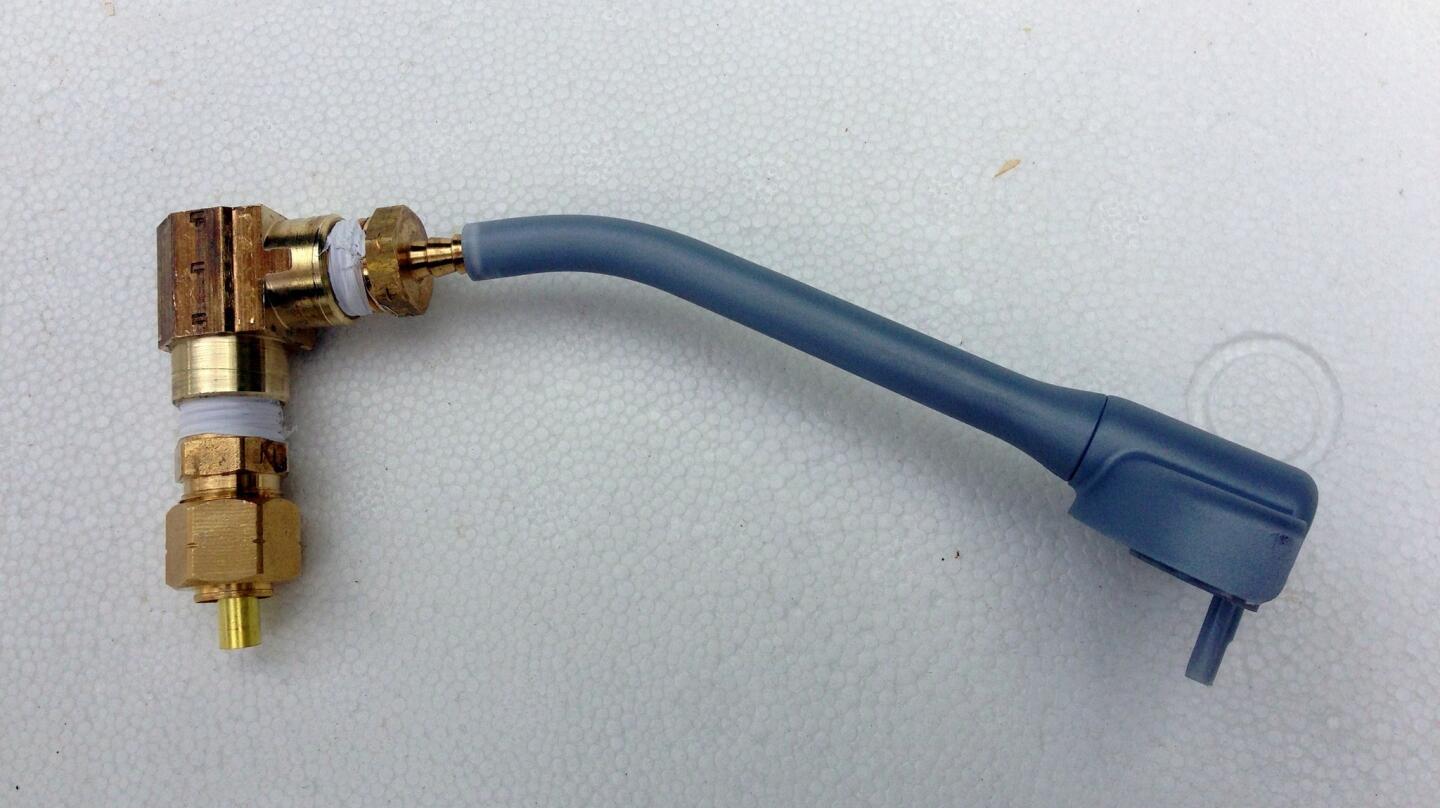
The other workaround is from a comment found towards the bottom of a similar workaround, addressing the changes Heineken has made to its taps: http://www.instructables.com/id/Make-Your-Draught-Keg-Mobile/ (Noelle Carter / Los Angeles Times)
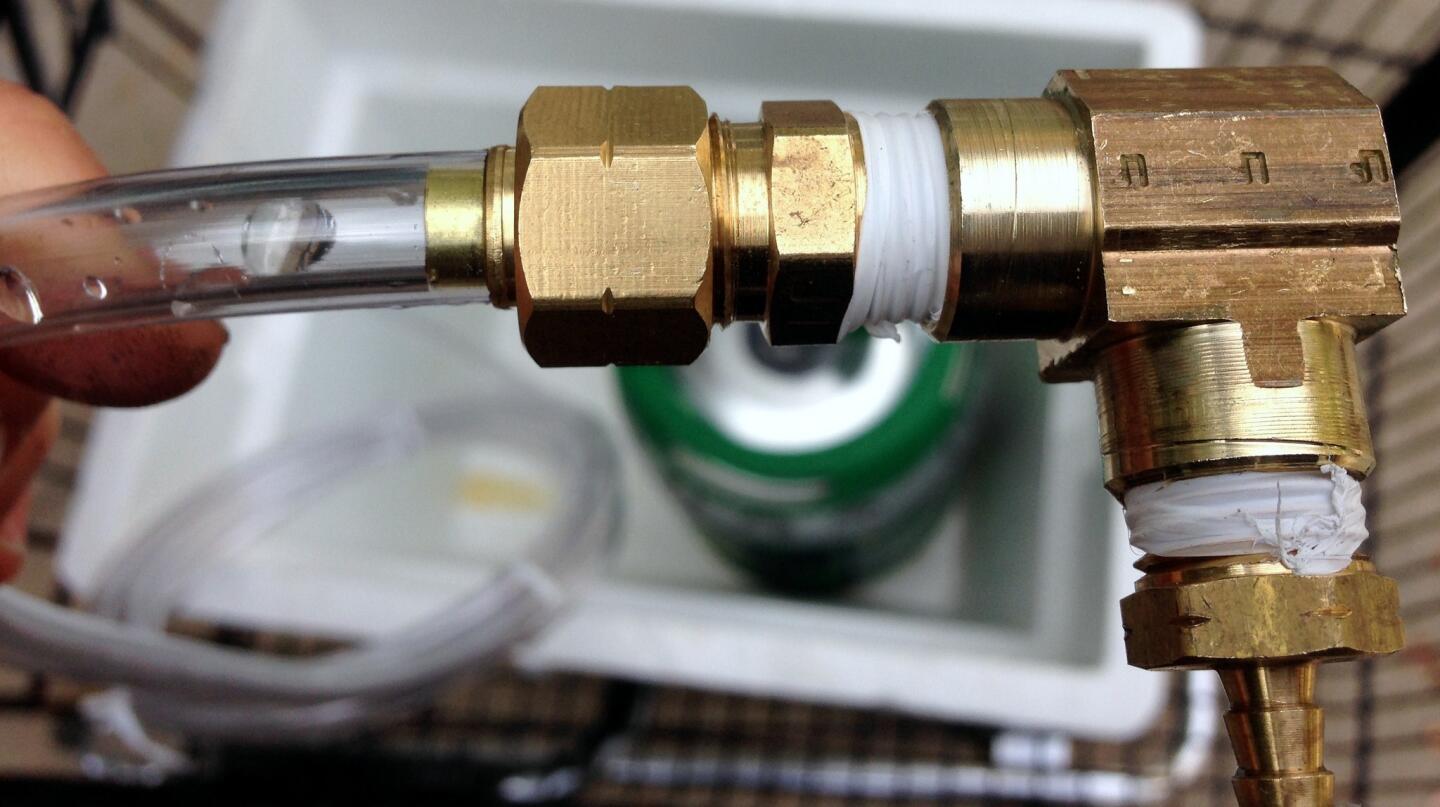
To attach the beer line to the mini-keg spigot, I attached a compression adapter to a female pipe elbow and brass hose barb adapter, threading with plumbers’ tape to prevent leaks. (Noelle Carter / Los Angeles Times)
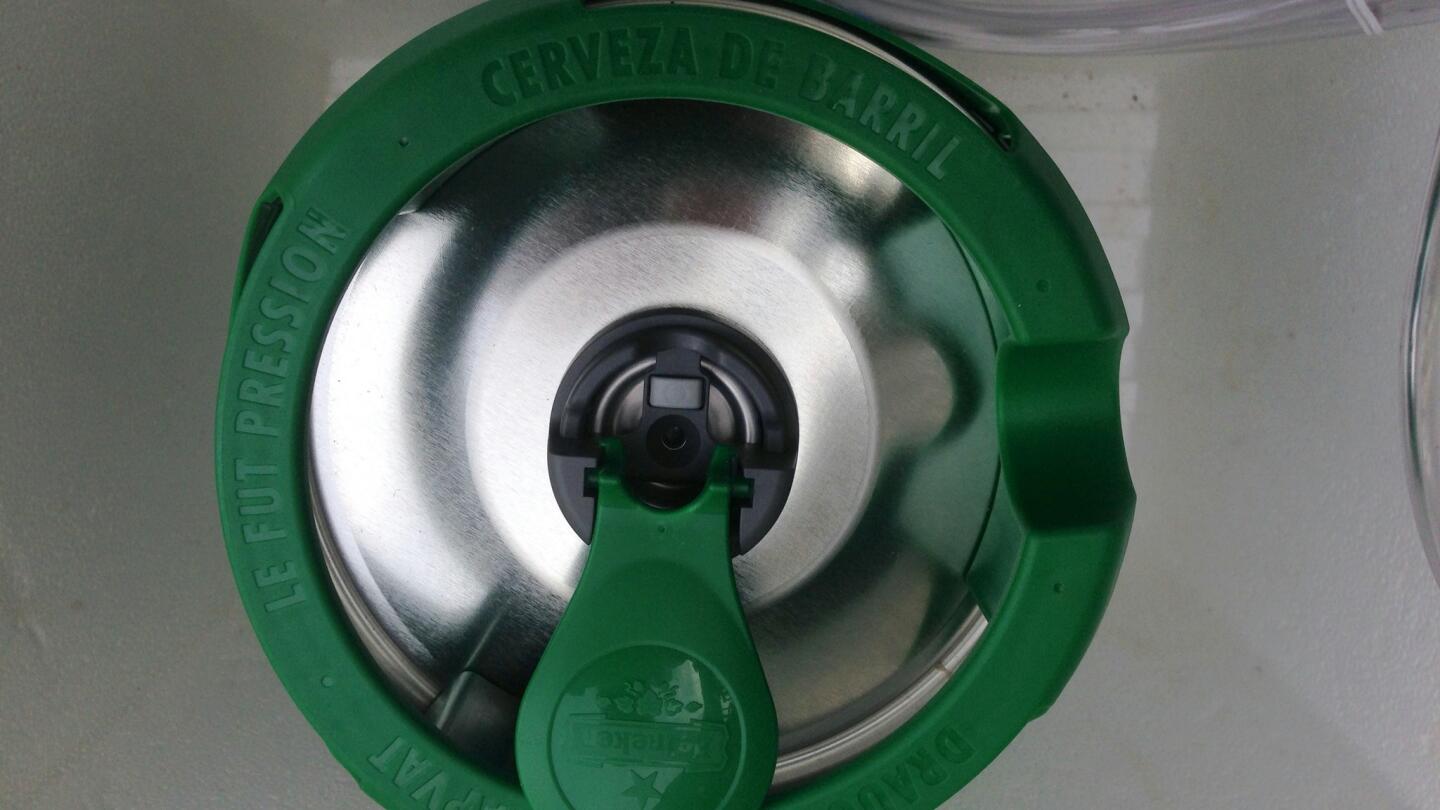
Here’s a close-up of the top of the Heineken keg. (Noelle Carter / Los Angeles Times)
Advertisement
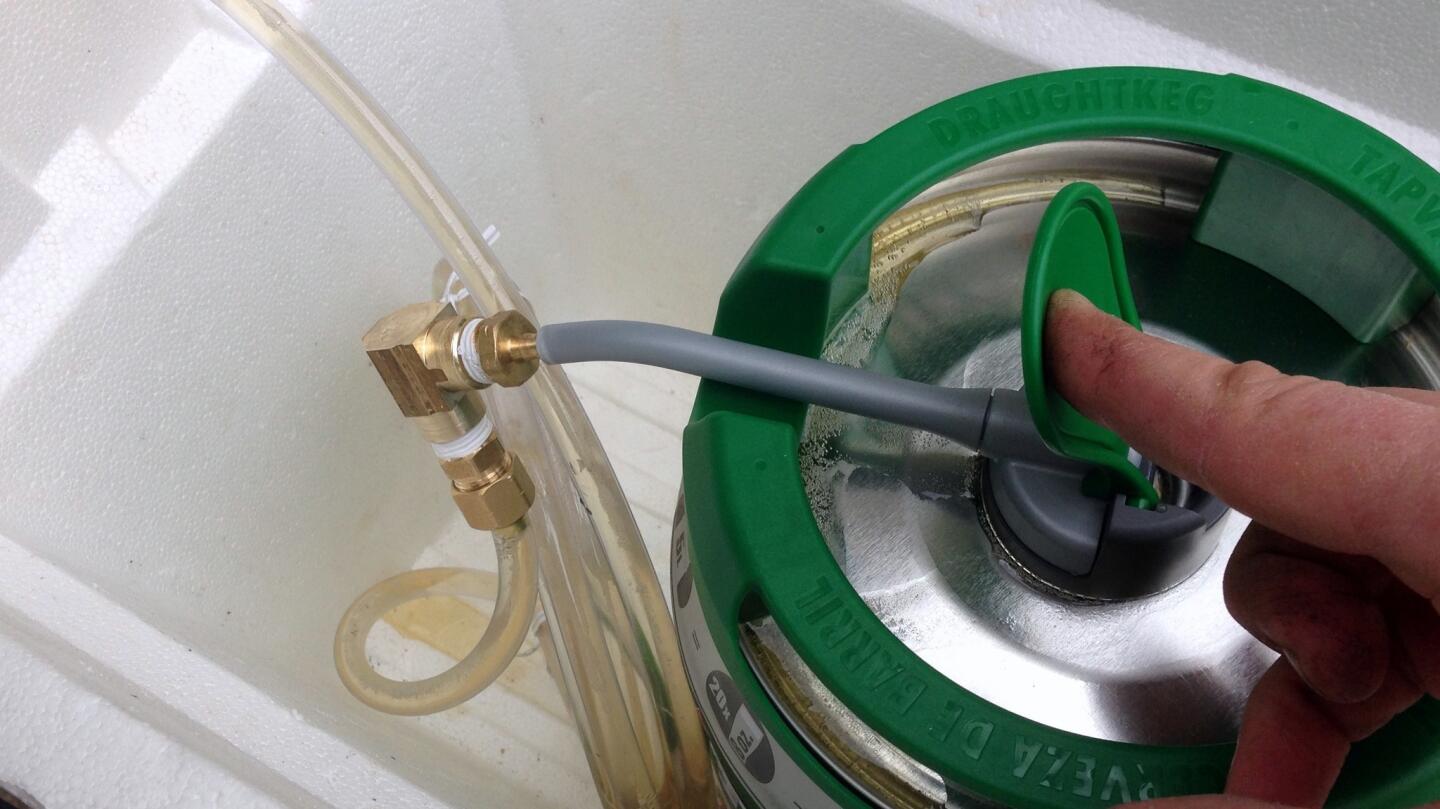
First test the line for leaks. (Noelle Carter / Los Angeles Times)
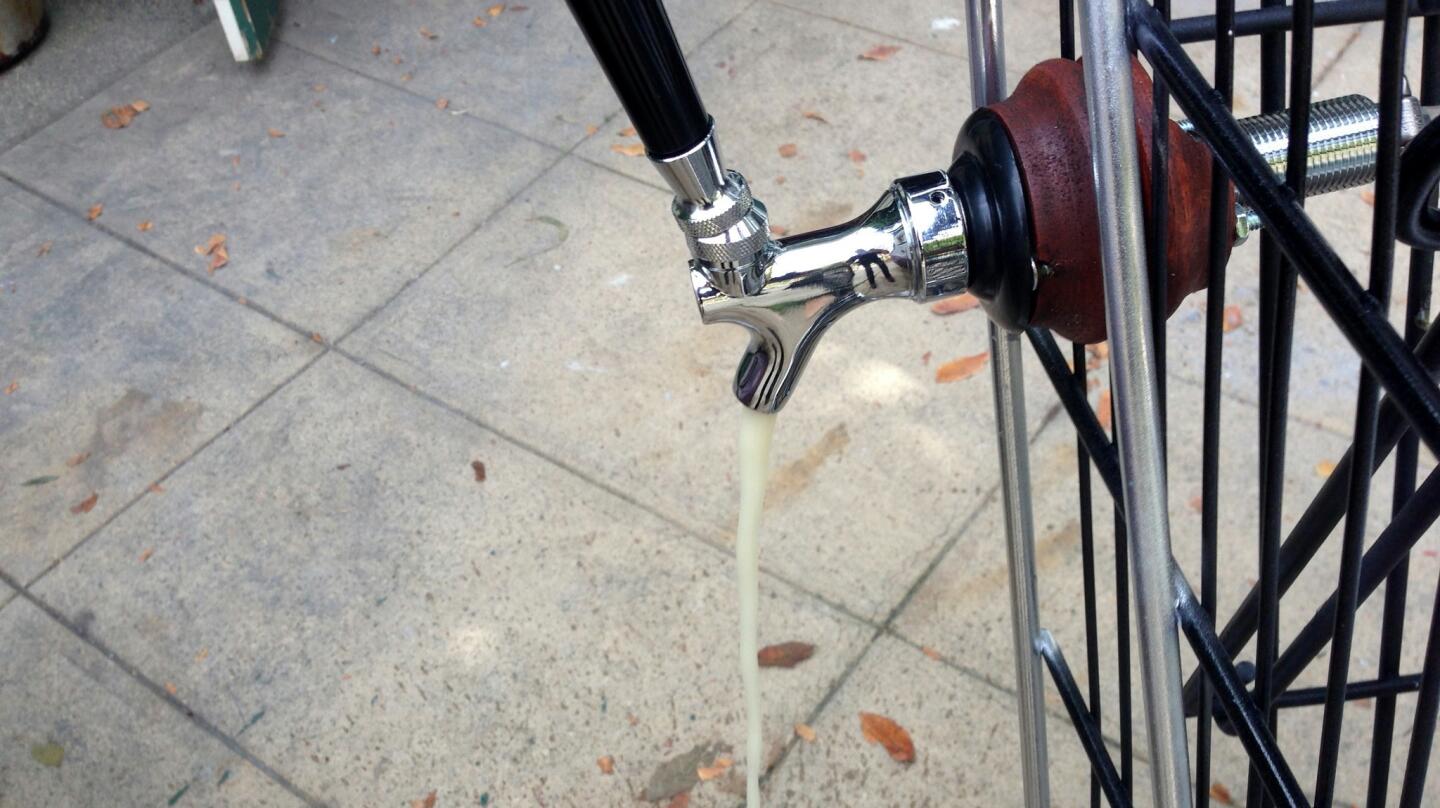
And ... we have beer. When you first tap the keg, you’ll get a lot of foam from the pressure release. This is normal. Simply keep the tap open until the beer starts to flow. (Noelle Carter / Los Angeles Times)
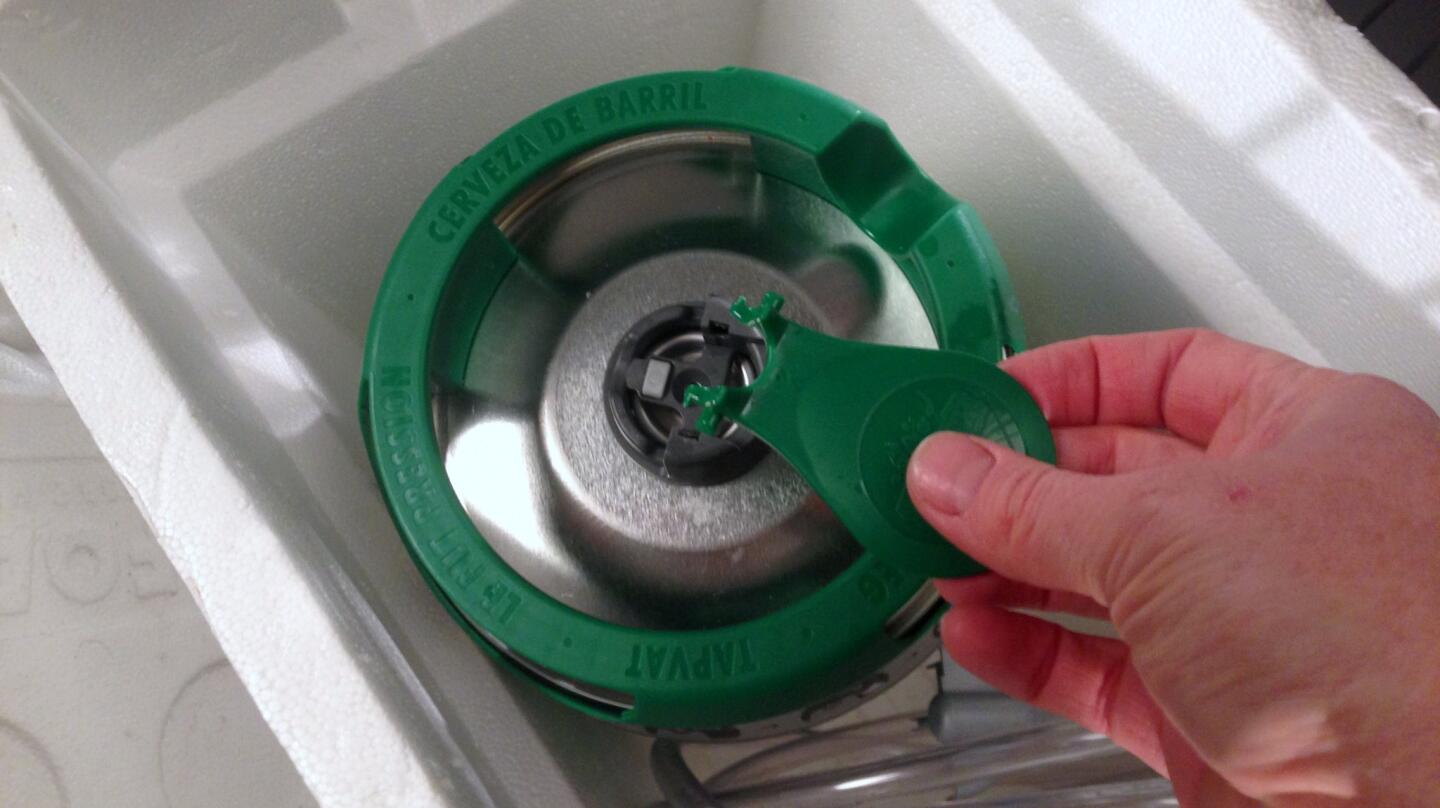
The comments from “goaly” in the comments at the bottom of this workaround (http://www.instructables.com/id/Make-Your-Draught-Keg-Mobile/) were incredibly helpful in keeping the beer line open and leak-free. First, remove the green toggle. (Noelle Carter / Los Angeles Times)
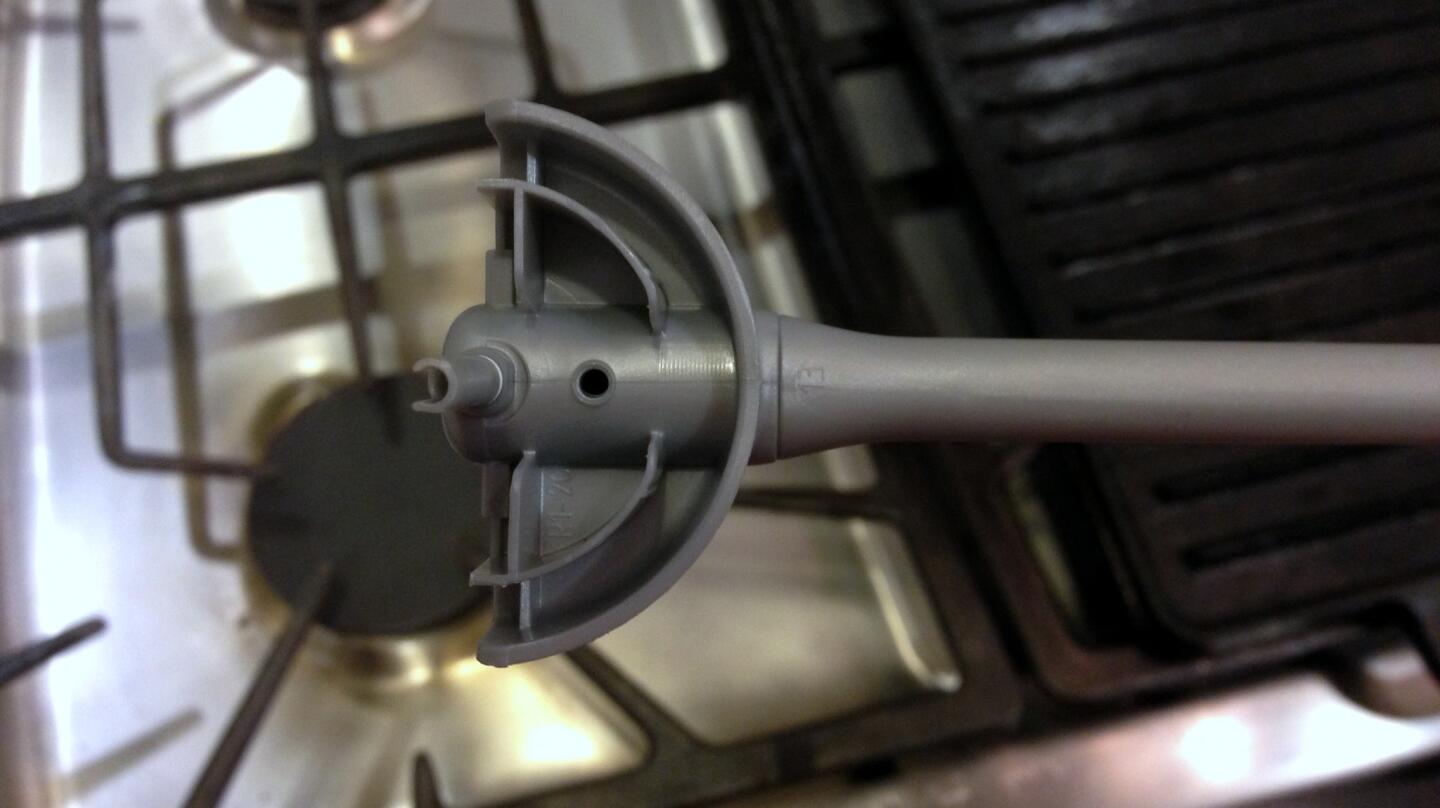
Next, seal the long and short portions of the spigot, and seal the vent hole. Per goaly’s comments, I did it easily using a screwdriver heated over a stove-top burner. (Noelle Carter / Los Angeles Times)
Advertisement
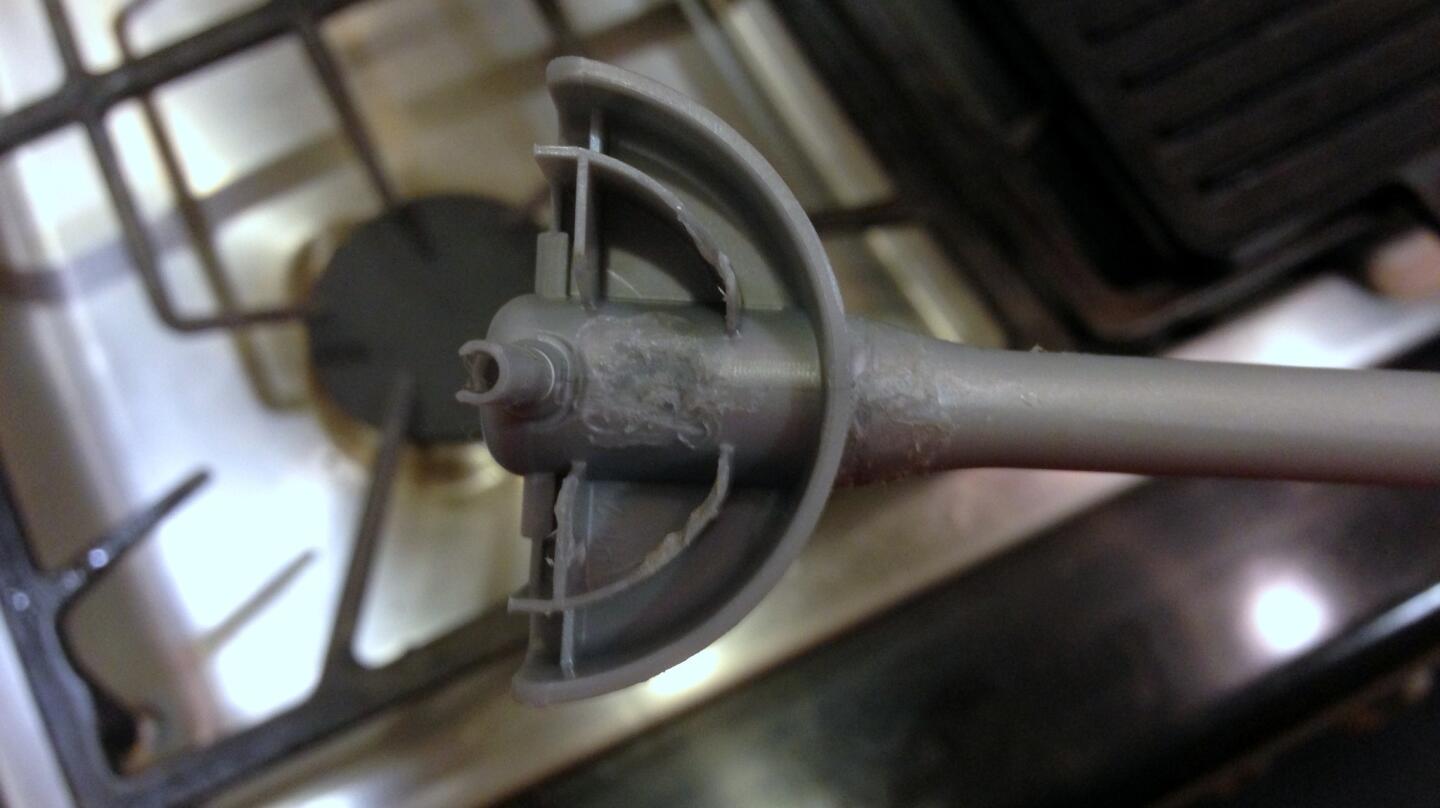
A shot of the sealed plastic spigot. (Noelle Carter / Los Angeles Times)
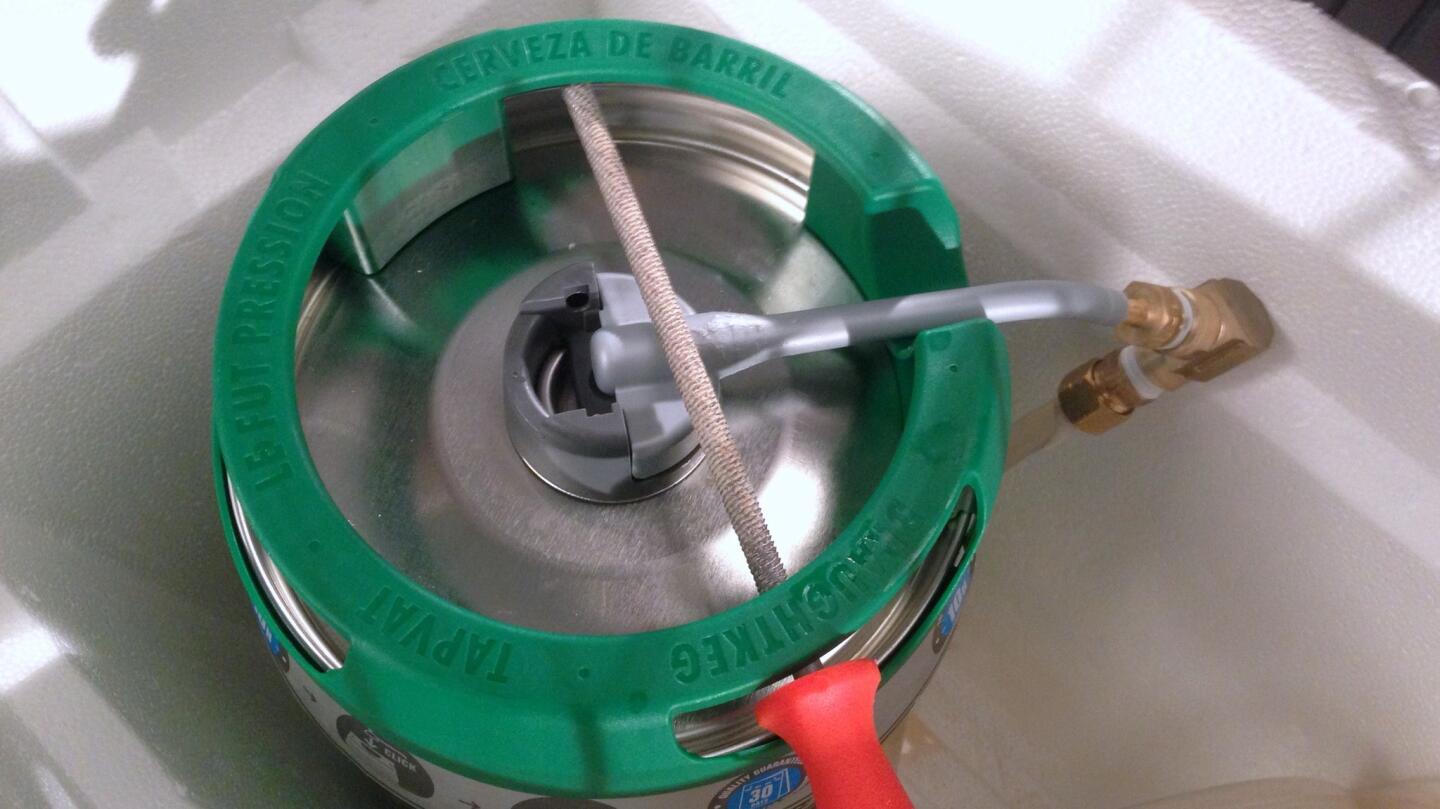
To “lock” the spigot in the open position, I used a wood file. (Noelle Carter / Los Angeles Times)
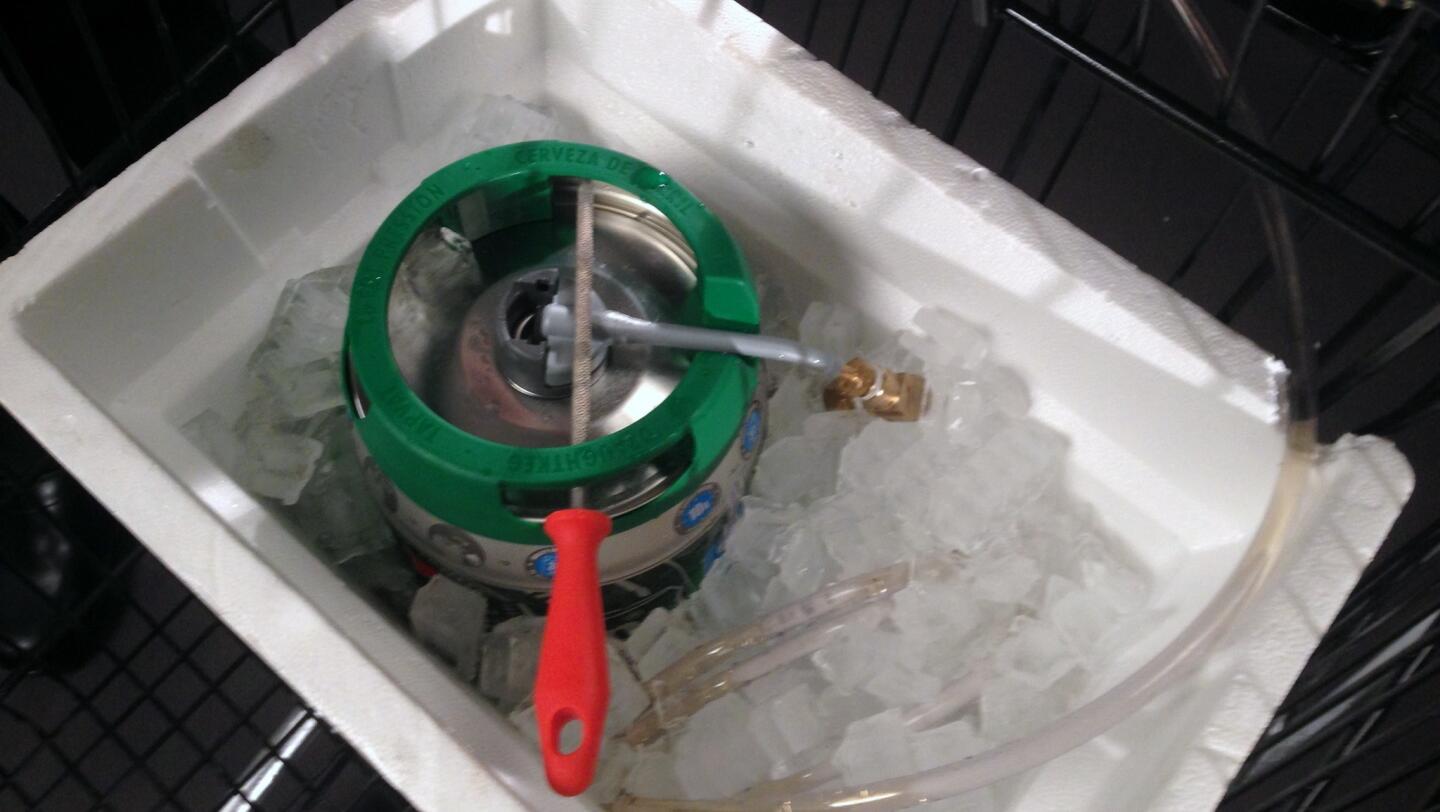
I was able to fit a simple ice chest in the cart, with the keg standing upright. Plastic foam is an excellent insulator, and the keg stayed cold for hours. (Noelle Carter / Los Angeles Times)
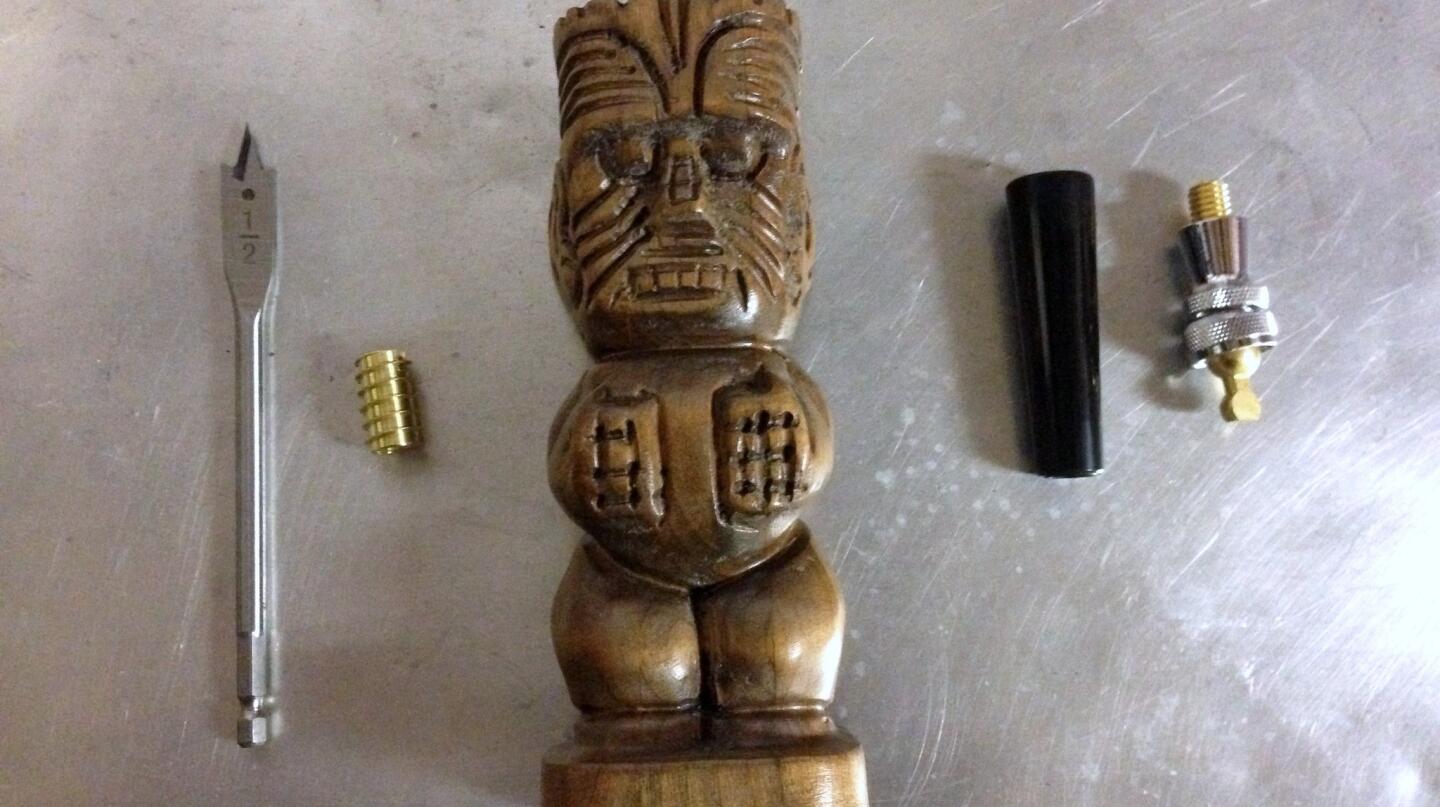
Finally, I decided I wanted a custom beer tap handle. I drilled a half-inch hole in the base of a cool Tiki I’d bought at Oceanic Arts in Whittier, and screwed in a (3/8-inch No. 16) wood insert nut. (Noelle Carter / Los Angeles Times)
Advertisement
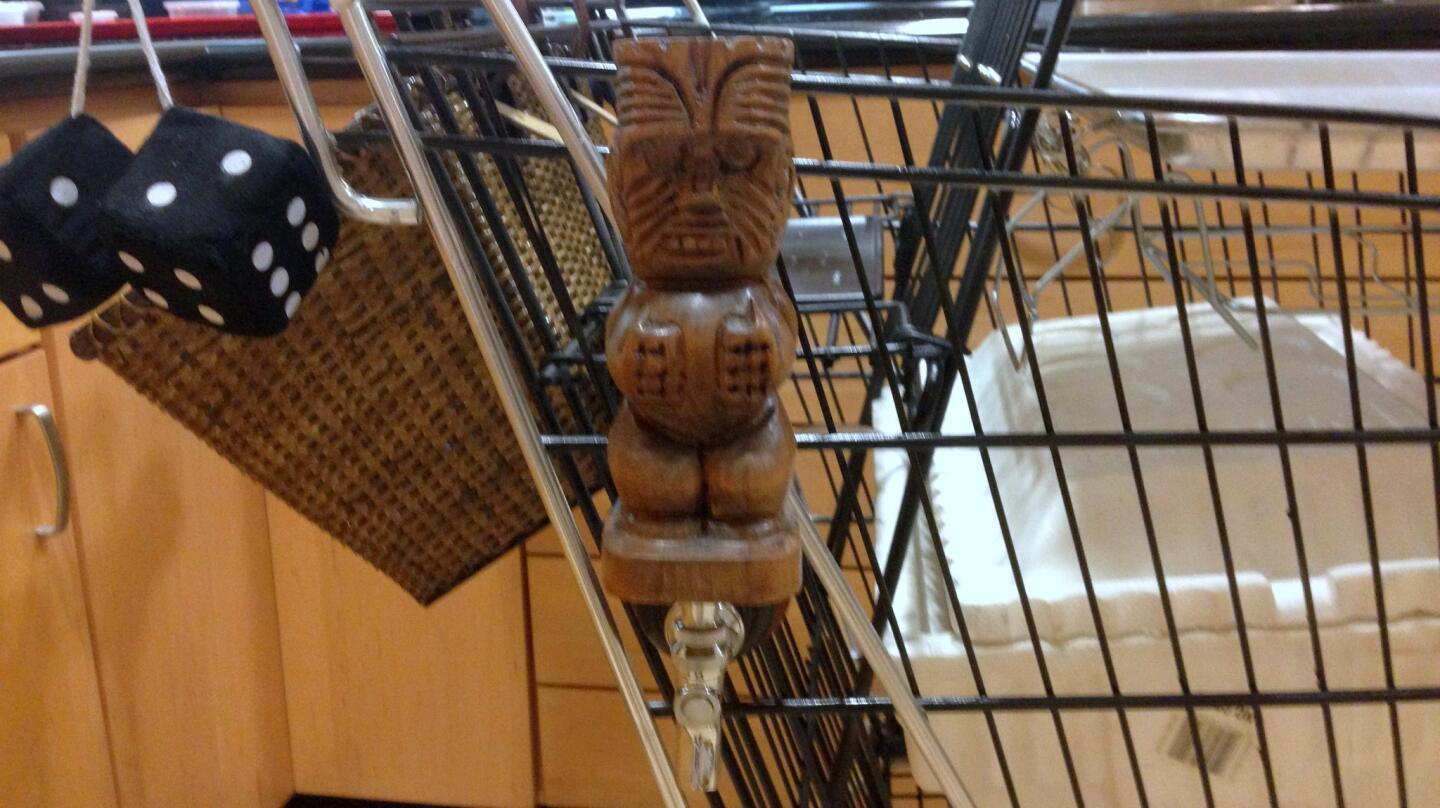
The new handle fit perfectly on the tap. (Noelle Carter / Los Angeles Times)
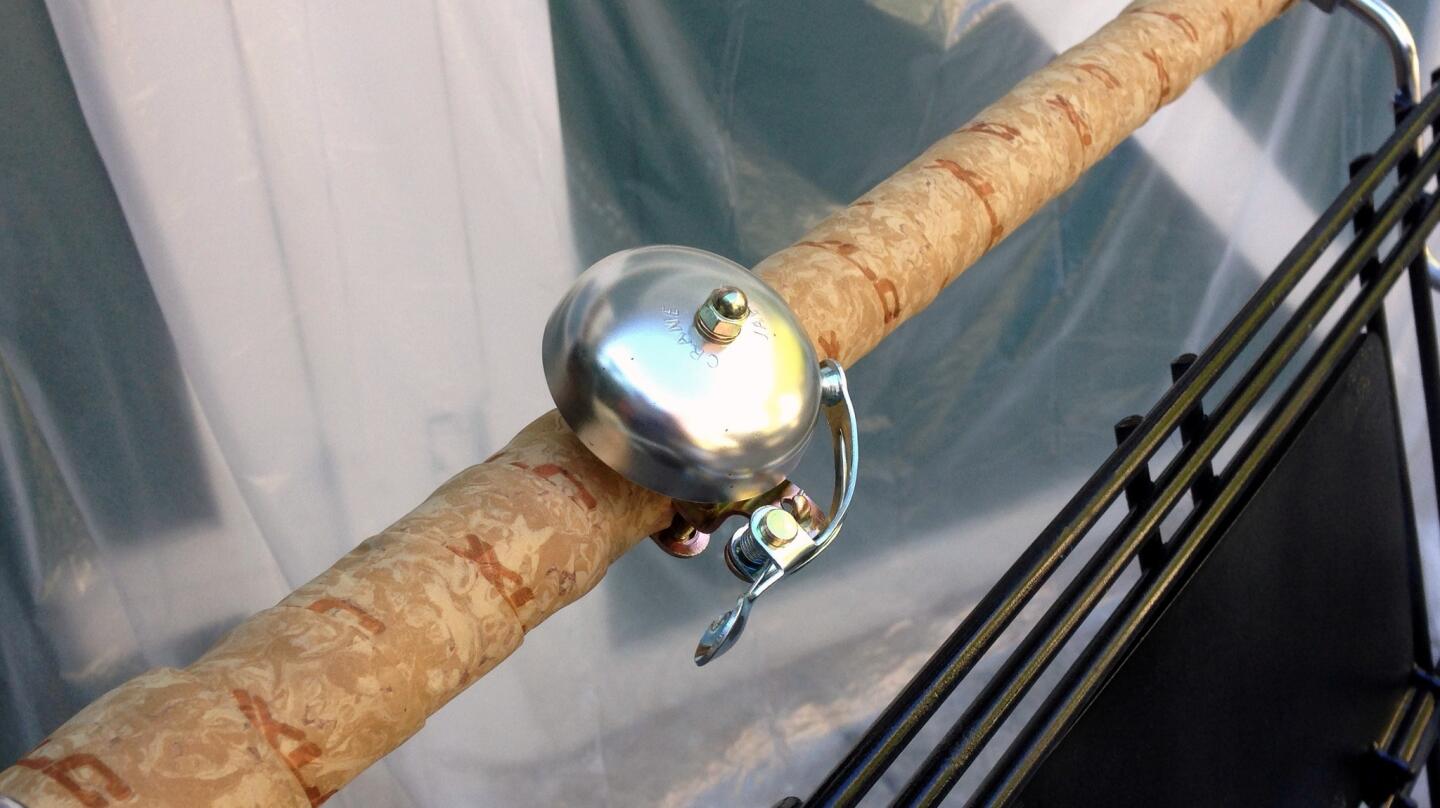
A couple of other embellishments include a bicycle bell and cork bicycle tape for a comfortable grip as I wheel the cart around. Also, a pair of black fuzzy dice. Just because. (Noelle Carter / Los Angeles Times)
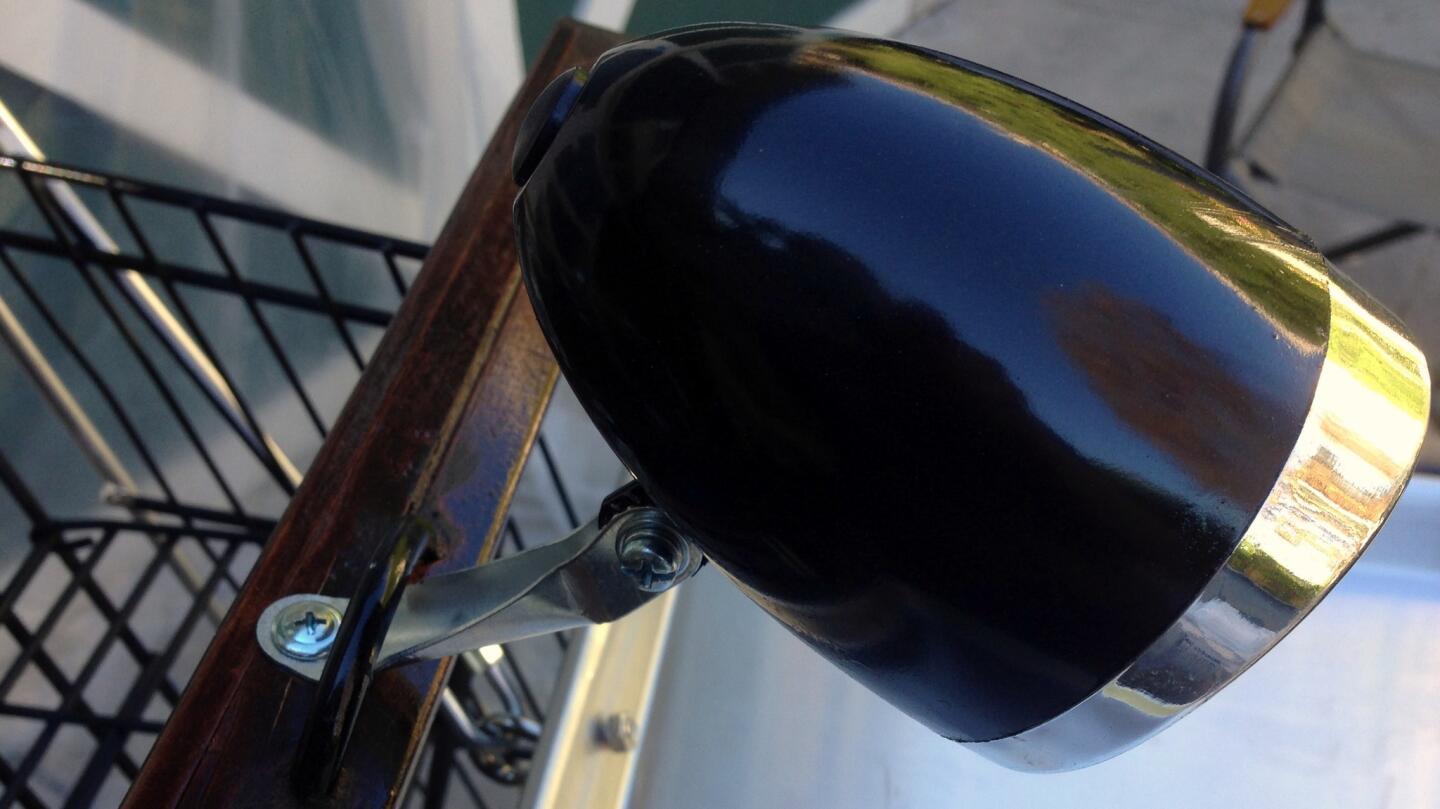
I also added an LED battery-powered bicycle lamp. The original lamp was green, so I painted it black to match the cart. (Noelle Carter / Los Angeles Times)
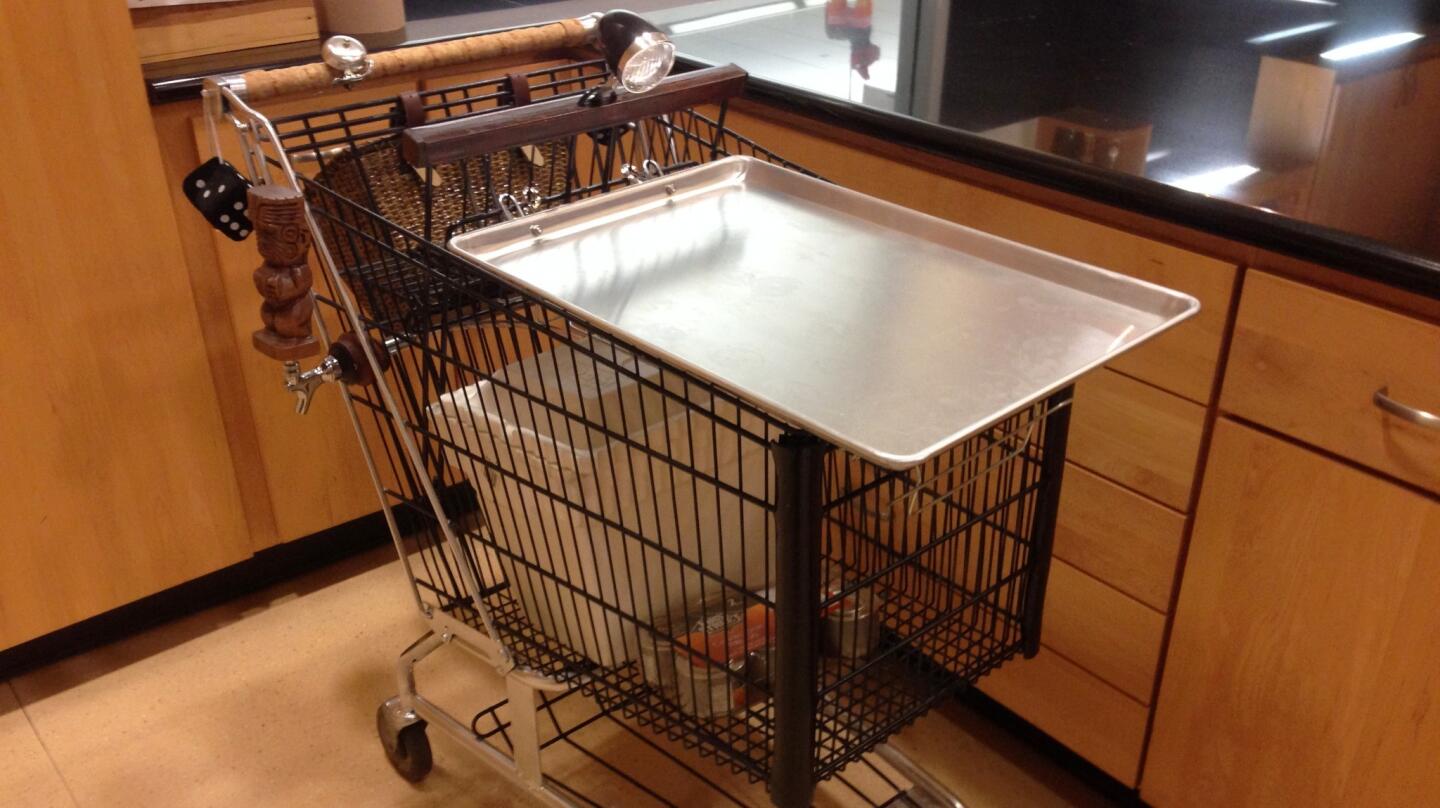
The completed cart ready to make its debut in the L.A. Times Test Kitchen. (Noelle Carter / Los Angeles Times)
Advertisement
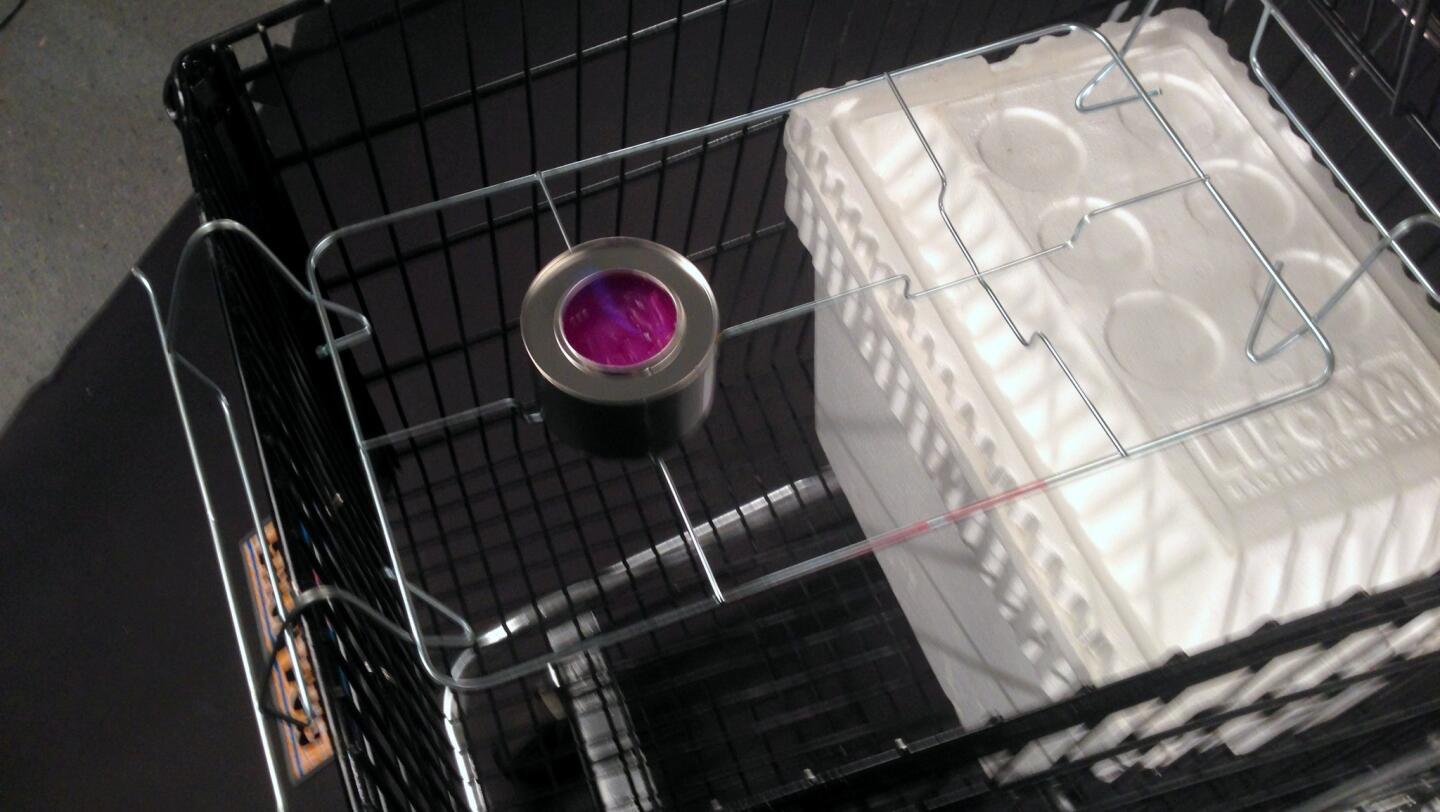
For the first go, I hooked up the beer tap, and then got the chafer canisters going so I could start cooking. (Noelle Carter / Los Angeles Times)
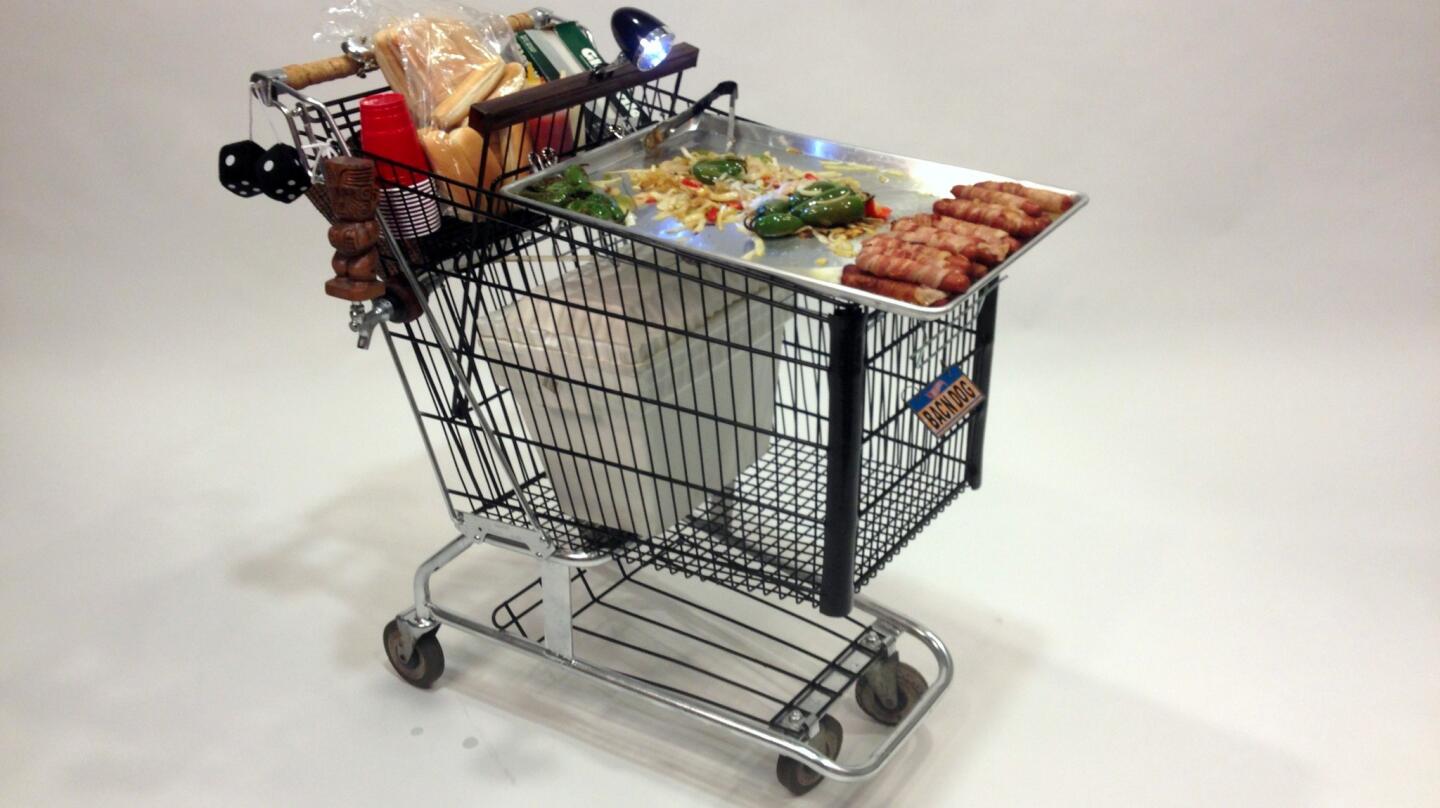
The finished party cart up and running in our photo studio. (Noelle Carter / Los Angeles Times)
Noelle Carter is the former Los Angeles Times Test Kitchen director. She left in January 2019.


