Gardening : Building a Durable Wood Planter Box, Step by Step
Redwood or cedar are most often used for planter boxes because they don’t decompose as quickly as other woods and they are termite resistant. They are expensive, but bargains can be found.
Our most expensive planter was our prototype because all of the milling costs were one-time-only. When we “mass produced” three planters at once the following weekend, we had the lumber yard saw several boards at once, thus reducing the overall milling fee.
Another thing we were unprepared for was the difference between finished lumber sizes and the traditional name for a board, a crucial point that can throw a project off and add to cost if not anticipated. What is called a 1 by 8 actually measures 3/4 of an inch by 7 3/8 inches, and a 2 by 2 measures 1 1/2 inches by 1 1/2.
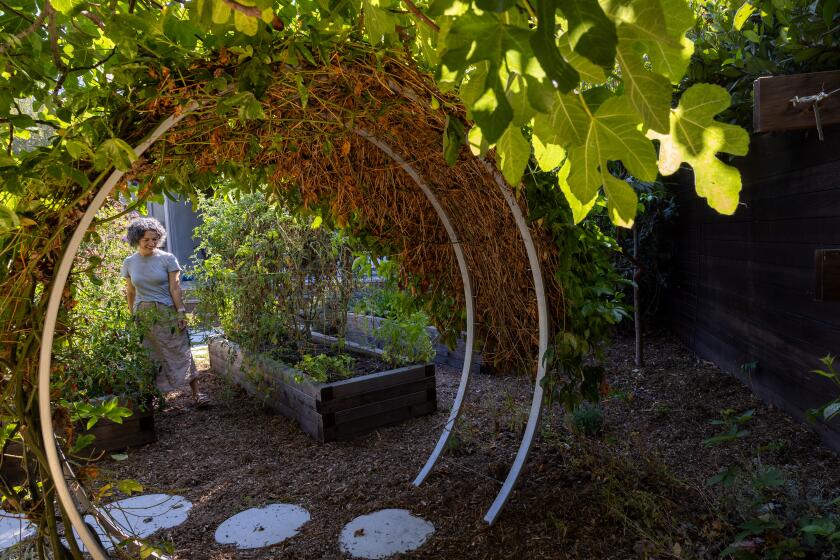
To make a planter that measures 29 1/2 inches by 36 inches by 16 inches (a large rectangle that will hold 8 cubic feet of soil), lay four 36 inch long 1 by 8s edge to edge across two sawhorses. Lay two 26 1/2 inch long 2 by 2s inset three-fourths of an inch in from the edge of each side but flush with the top board (Illustration 1). This can be hand measured with one of the sideboards for more accuracy.
Use four clamps placed at opposing corners of the assembly to hold the 2 by 2s against the 1 by 8s. Very carefully (as the two center boards are not clamped) turn assembly over on the sawhorse. Using a half-inch shank variable-speed electric drill to tap the screw holes, which should be sunk through the 1 by 8s into the 2 by 2s (working from the outside of the structure to the inside). Using a screw driver bit greatly speeds the sinking of the screws. Sink two No. 10 1 1/2 inch galvanized screws per board, evenly spaced.
After the four 1 by 8s are joined forming one long side, place it back on the sawhorse with the 2 by 2s facing up. Clamp a 30 inch 2 by 2 centered onto the bottom 1 by 8, offset from its bottom edge by three-fourths of an inch (Illustration 2). Invert the assembly on the sawhorse and using three evenly spaced screws, attach the 1 by 8 to the 30 inch long 2 by 2. Repeat the entire process to build the second long side of the planter.
Once those walls are built, the short sides are a bit tricky to attach but we did it this way to get a more exact fit, since each saw cut leaves quirky small gaps that can be hand fitted to correct. Stand each long side assembly with the 2 by 2 facing in and fit the top side board to form a U shape, then screw in place. Then repeat on opposite top side board to form a complete rectangle (Illustration 3). Stand assembly on short side and attach two remaining side boards (leaving the bottom, fourth board uninstalled at this point).
Again leaving a three-fourths inch clearance, screw a 14 1/2 inch long 2 by 2 into each remaining side board (working from the outside to the inside). These 2 by 2s, along with the 2 by 2s installed into the bottom long board, will form the four floor supports. Complete the third wall by screwing the fourth side board in. The fourth complete wall is left open for now to accommodate sliding the two long floor boards into place (Illustration 4).
Now attach the last side board and screw the floor boards into the underlying 2 by 2 supports (Illustration 5). Using a 1-inch spade bit, drill six evenly spaced drainage holes into the floor boards. The planter can now be waterproofed on the inside with a sealant such as Henry’s Standard Asphalt Emulsion if desired, but some gardeners may prefer to omit this step--to avoid even the remotest possibility of chemicals leaking into the growing medium.
Use plastic mesh squares or pottery shards to partially block the drainage holes to avoid soil loss. Fill planters with soil, thoroughly soak and allow to drain for about two days before planting.


